How to plant bulbs in the green
 Lee Burkhill: Award Winning Designer & BBC 1's Garden Rescue Presenters Official Blog

Spring flowers show the first positive signs that spring is just around the corner. There is nothing nicer than getting through the winter and seeing a mix of spring bulbs emerging in the garden. Winter Aconites (Eranthis) and Snowdrops (Galanthus) are the first early bird bulbs to spring up. It brightens up our gardening days during the winter months.
However, these spring plants can take a while to get established if you plant them like Daffodils (Narcissi) in Autumn via semi-dry bulbs. Which can lead to gardening disappointment and frustration as you wait a few years for them to make an appearance finally. However, 'Bulbs in the Green' are different!
This guide will explain what 'bulbs in the green' are and why you should consider them to bring your garden to life in the springtime.
This page contains affiliate links for products I use and love. If you take action (i.e. subscribe, make a purchase) after clicking a link, I may earn some gardening commission which helps me keep the Garden Ninja Blog free for all.
Bulbs 'in the green' are flowering bulbs that are lifted, sold and then replanted whilst they have their 'green stems' intact. They have a much higher water content in them, ideal for planting.
They differ from dry or semi-dried bulbs, which are lifted and sold whilst dormant. These dried bulbs, such as Daffodils, Tulips or Snowdrops, are then planted in the Autumn, ready for the next year.
By buying your spring bulbs 'in the green' just after they have flowered, you can ensure a fabulous display the next year, meaning you're not waiting with your fingers crossed.
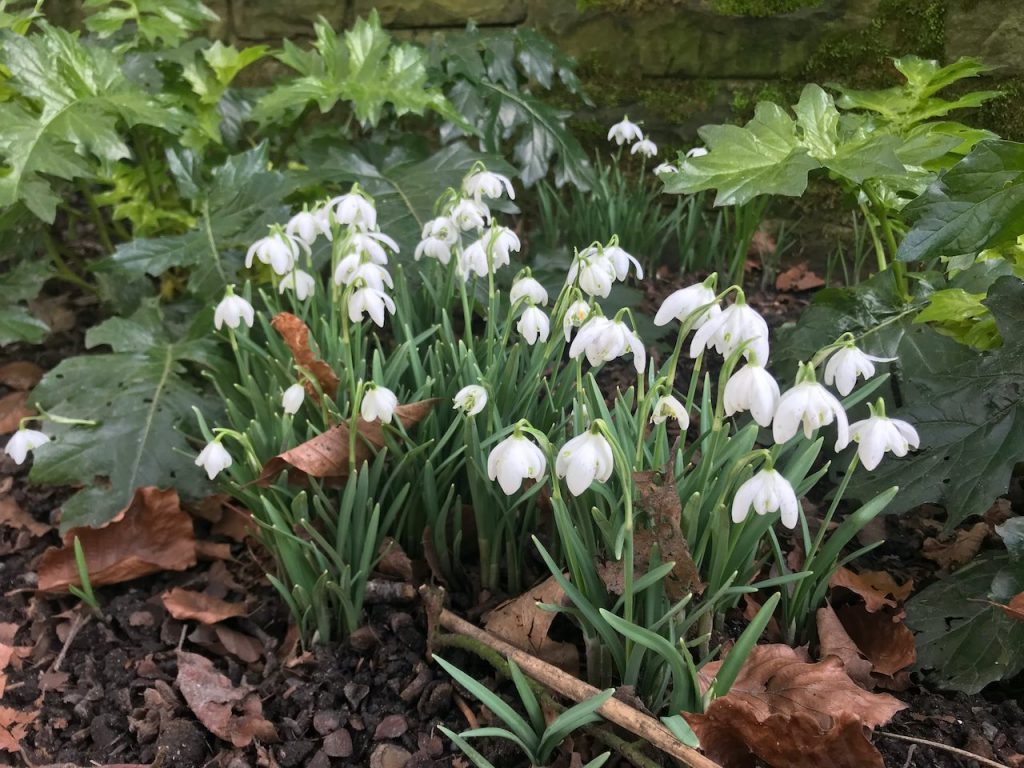
Planting bulbs in the green has a number of benefits for the gardener.
The first is that bulbs in the green are lifted with their foliage. Once planted, the foliage dies back all the moisture goes back to the bulb. It puts less stress on the bulb than if it were lifted, dried out and planted when dormant and dry.
Second, it's far easier to see where your bulbs will flower by planting them in the green. No more digging holes, dropping them in and then forgetting where they are. It helps you plan your garden borders and ensure the placement and bulb distance apart from each other is correct.
Lastly, certain plants, such as Winter aconites and Snowdrops, can be quite fussy to emerge when planted as bulbs. Sometimes they come straight up other times; they sit somewhat dormant for years. By planting them in the green, they are planted in warmer soil, allowing their roots to establish.
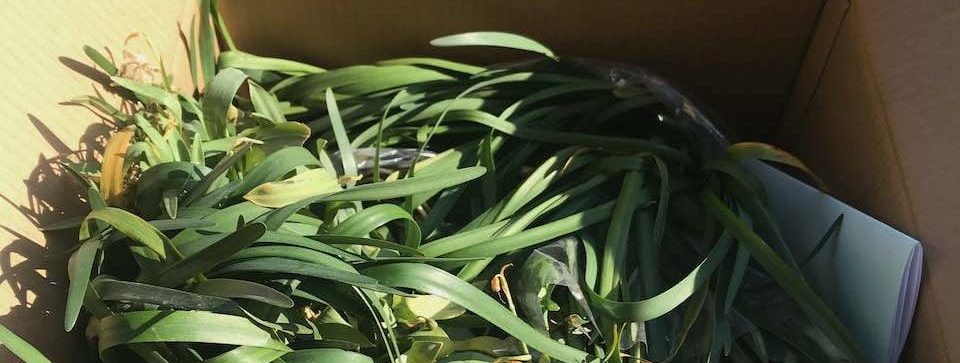
It also means the leaves are left above the soil and can take in energy to store in the bulb, which means the year after, there's a better chance of flowering!
Bulbs in the green are lifted in February and early March and shipped out directly to customers. This is just after they have finished flowering with a high water content. This is the beauty of bulbs in the green, it's less stressful to transplant them when in the green.
It would be best if you planted bulbs in the green as soon as they arrive, usually around late February to March. They don't store like traditional dry bulbs such as daffodils, so make sure you have enough time to plant them in your garden when they arrive.
Did you know that you can take my course and learn how to become a Garden Ninja yourself? Click here for details
This guide will show you how to easily plant bulbs in the green without drama and with the least fuss possible. Gone are the days of back-breaking bulb planting with a dibber on your hands and knees. My method is fast and requires the least bending possible.
I like to call this method 'the slit method', which I've found ideal for naturalising and planting smaller bulbs like Snowdrops in the green. It doesn't involve huge amounts of effort, and I've always had great success.
The equipment you will need:
Smaller bulbs usually don't require as much depth as larger bulbs like Tulips and Daffodils, which makes planting them mega easy via the slit method. I always find Tulips better in containers as they naturally lose some of their vigours over time.
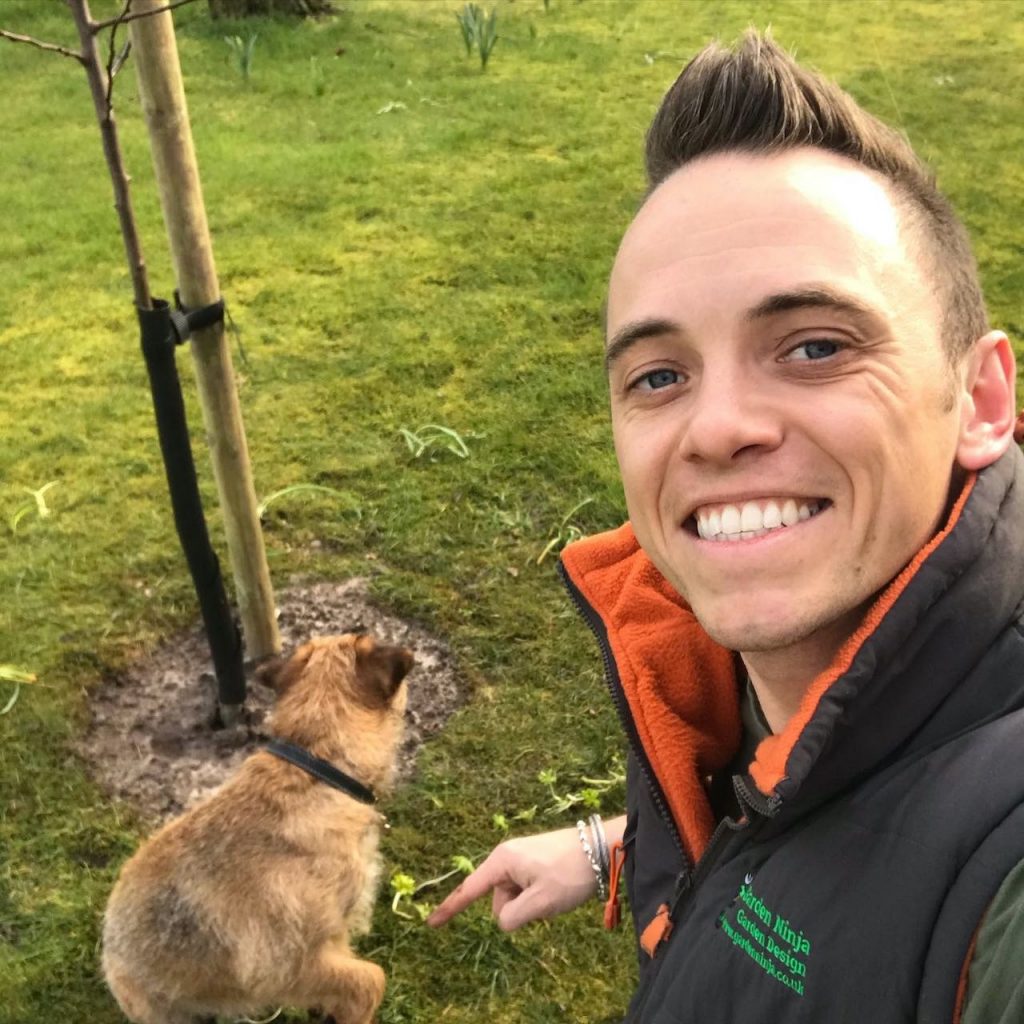
In comparison, Daffodils and other bulbs tend to bulk up and go for gold in the ground. It's your personal preference whichever way you prefer to plant bulbs.
Using a sharp spade, make a cut into your turf (or soil if planting in a border). Waggle the spade back and forth to make a slit wide enough to fit the bulbs. I find doing this after rainfall the best way, as the ground is moist and ready for the bulbs.
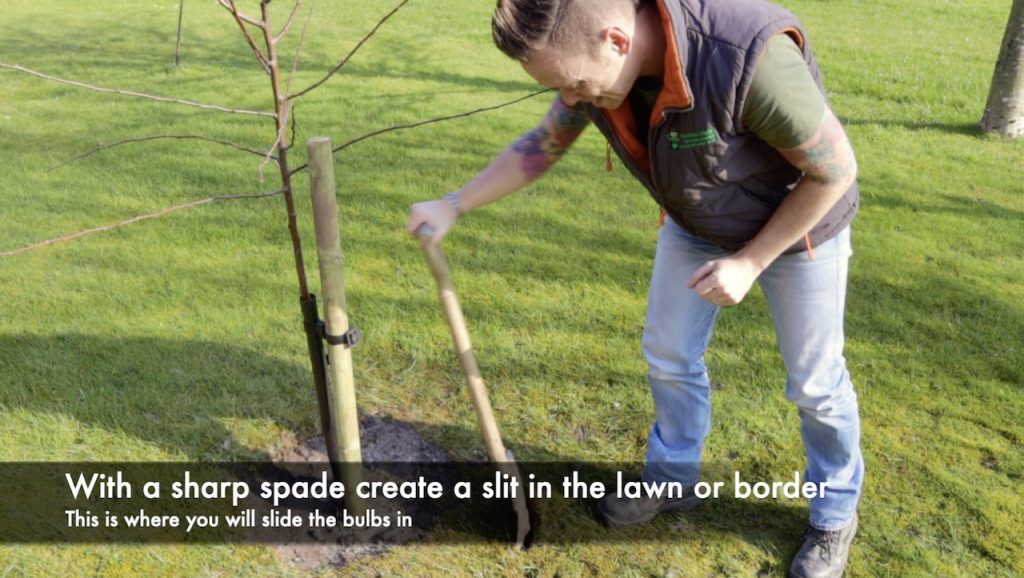
This creates the slit in which the bulbs are going to be planted.
Grab a handful of your bulbs in the green and split them into bunches of 3 or 5 at a time. Don't be tempted to stick in 10 or 20 into each slit. They will just get congested and look odd. Removing the benefits of planting in the green in the first place!
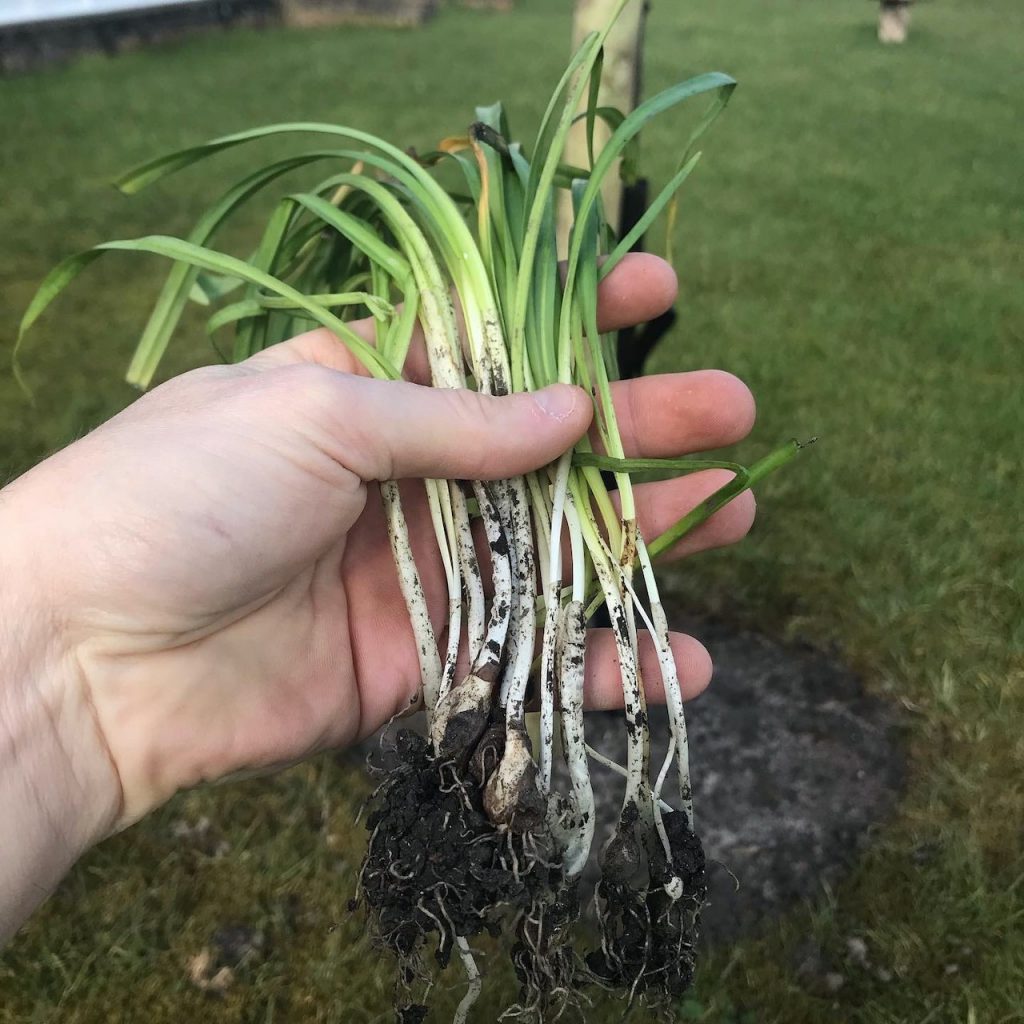
By starting small with 3 or 5 the bulbs will bulk up over the years and not need to compete with each other for resources. ie water and nutrients. Leading to a far nicer look next year than rows of congested sorry-looking Snowdrops.
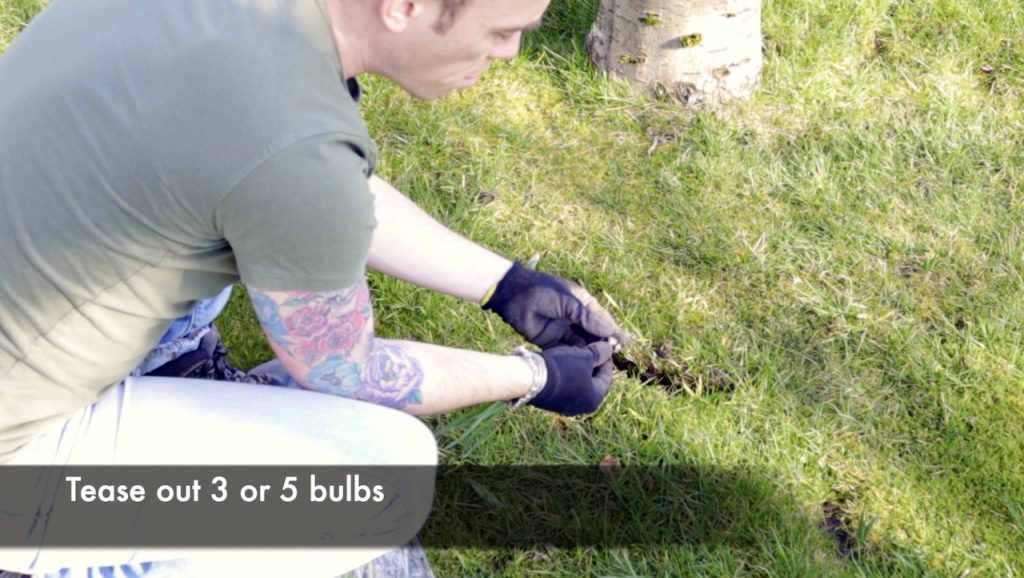
To make things easier, you can even split the bulbs indoors when they first arrive. Sitting at a table makes for a far more comfortable experience. Just make sure you plant them as soon as you have split them. This is because they will be losing moisture, and you need to get them in the ground so they can establish.
Slide the bulbs you've divided individually so that they are buried up to a depth that completely covers the lower white part of the stem. This white part shows the previous planting depth; it's white because it doesn't need much chlorophyll as it's not going to photosynthesise being underground!
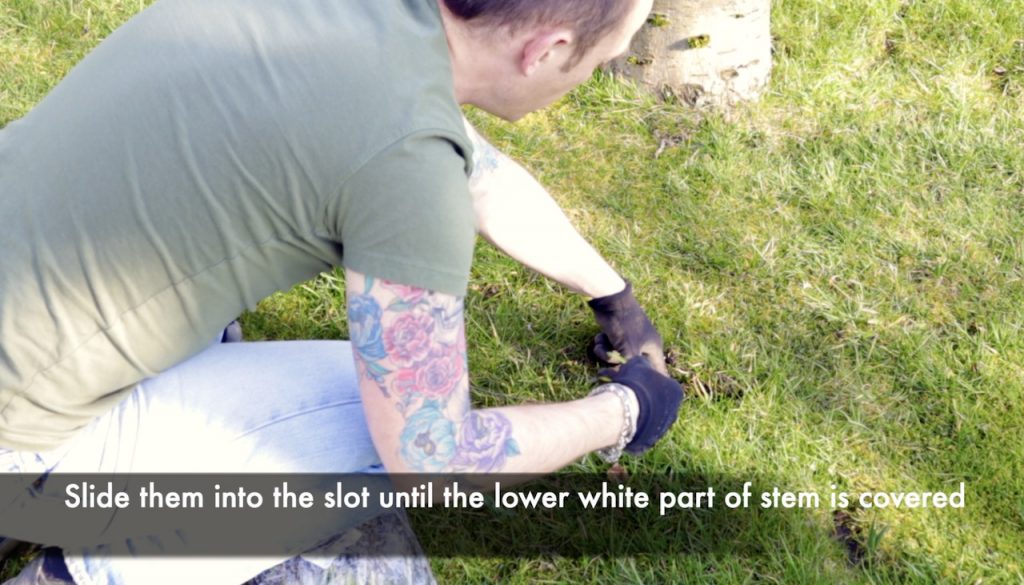
This white part of the stem shows you which bit should be buried so its a nice indicator from mother nature to us gardeners!
If you're planting more, give the next batch at least 6-8 inches between the first set you planted. You may even decide to use a larger spacing to make the bulbs go further. it's entirely up to you.
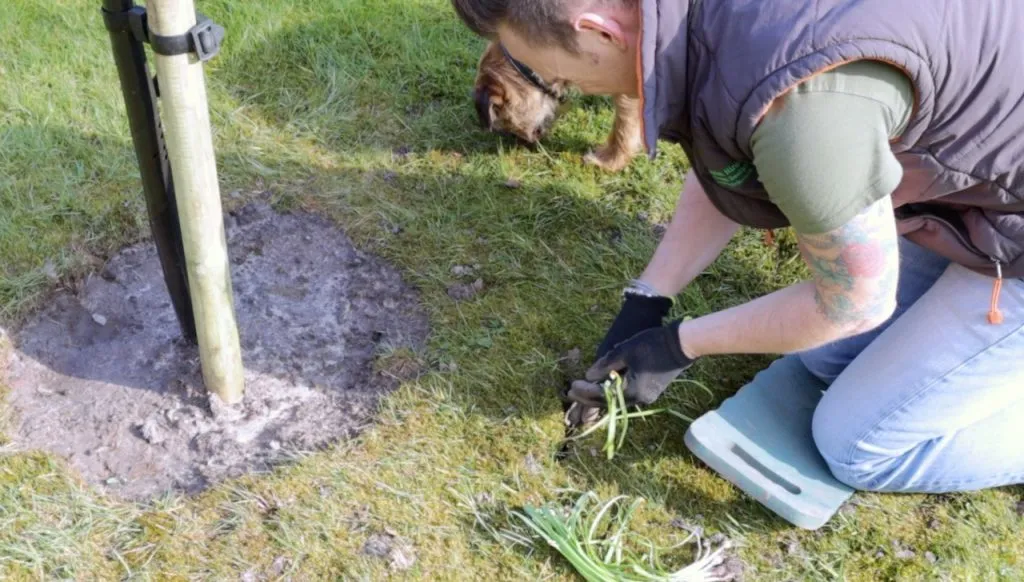
Once you've got 3 or 5 in, push the slit back together again, firmly covering the bulbs.
They may lean to one side initially but don't worry; they will recover. Always water them thoroughly after planting with a watering can. That's it; the job is done. Your bulbs are planted.
Clean off your spade and get inside for a brew!
You won't find all bulbs available in the green as it's quite a labour-intensive way of growing and lifting plants. There's also a short shelf life between lifting and planting. You need to get them in the ground ASAP, whereas bulbs can be stored somewhere dark for a few months before planting.
Here's a list of the common bulbs 'in the green' species which I've planted to help you when searching online:
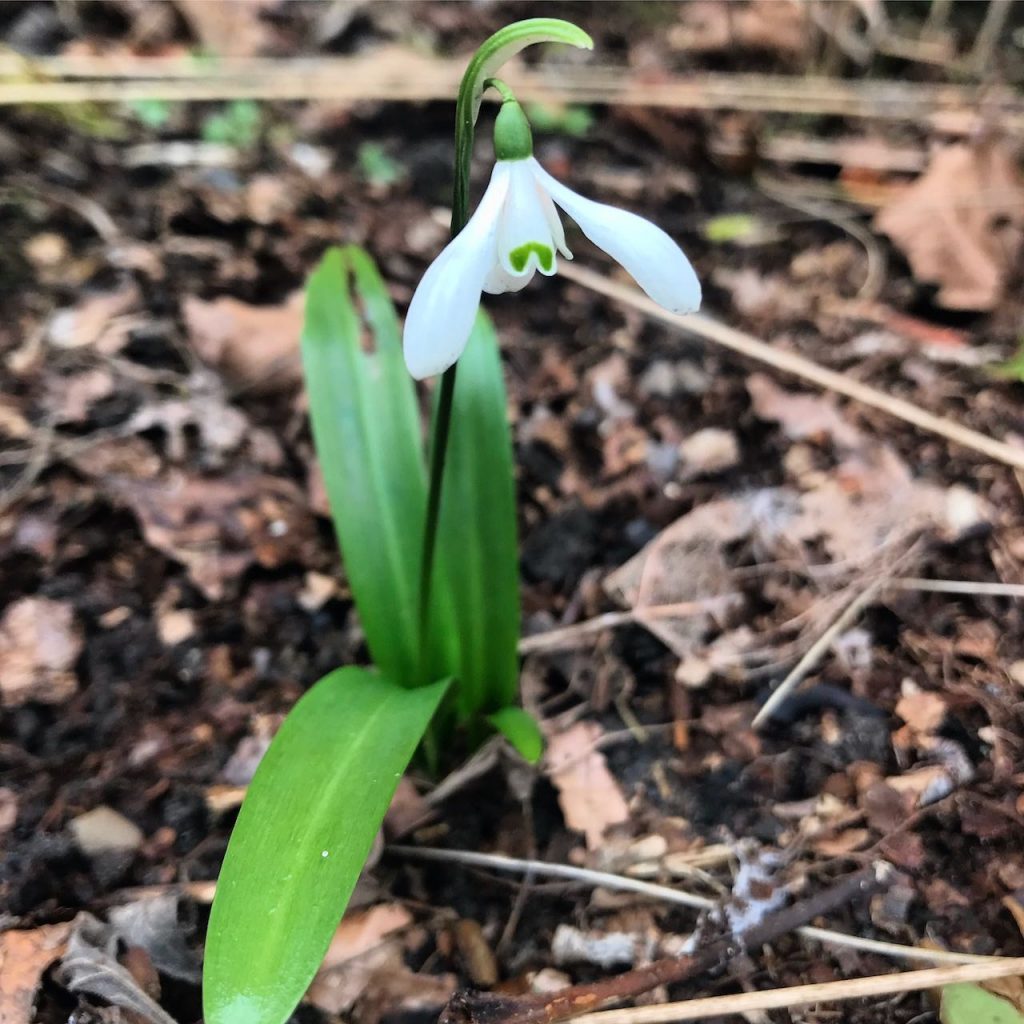
Snowdrops, Galanthus, can be a bit tricky to establish, especially if planted as bulbs. I've had some great successes and other times abject failures. If planting as dried bulbs, it's essential they get a good frost to trigger their flowering. So you need to get them early in autumn. They then take 1 - 2 years to establish.
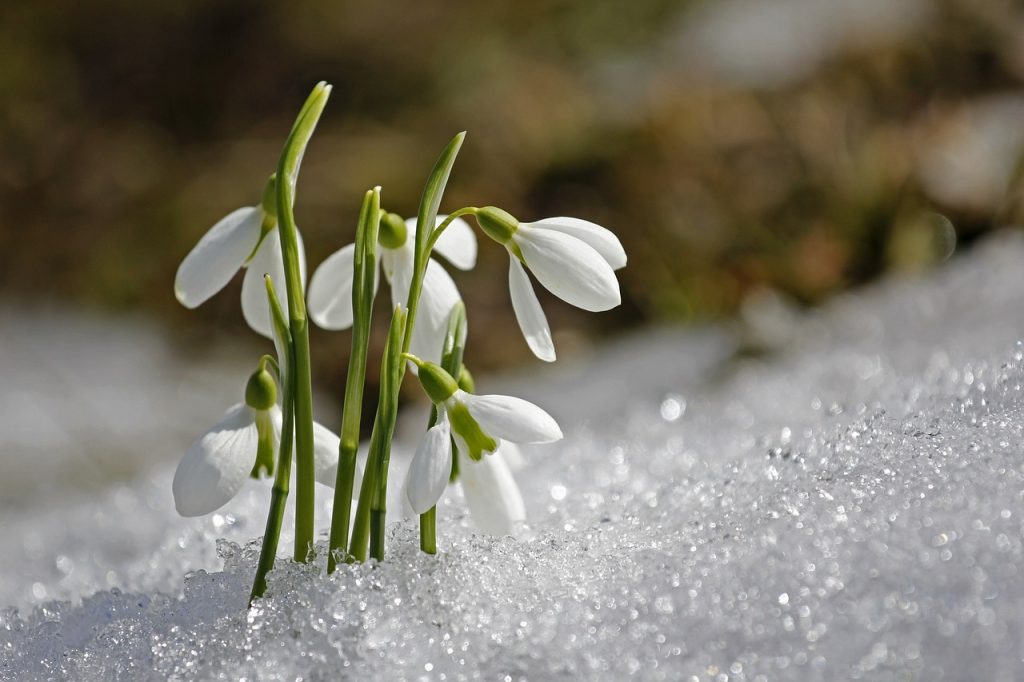
Bulbs in the green only take one year to establish; they are much quicker when planting snowdrops. There is also a much quicker establishment of the bulb and root system.
Daffodils are far less demanding than early flowering bulbs such as Snowdrops or Aconites. They will flower the year after you plant them in most cases. Taking 1 year to flower.
You can plant Daffodils any time in winter with a high success rate. Providing they are planted deep enough, at least 2-3 times their depth.
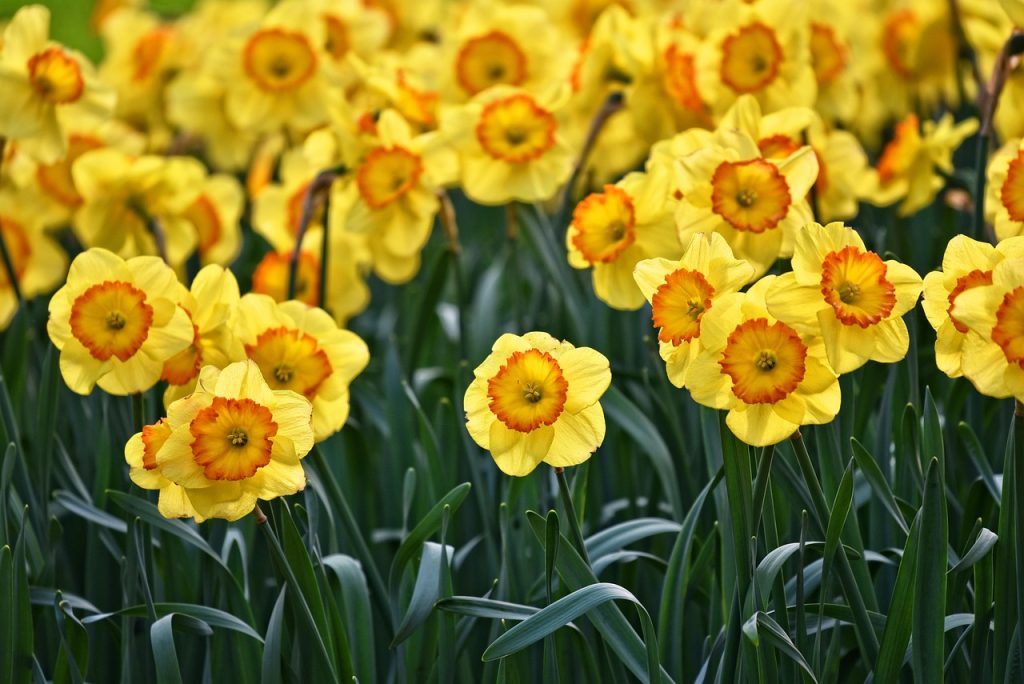
Yes, Daffodils are perennial bulbs, meaning they grow back each year. Every few years they will also multiply making them an excellent budget friendly beginner garden plant.
The best time to plant dry bulbs in the garden is Autumn; September to October. This is because the ground is still warm, and the bulbs can start to establish their root system before the winter. It's a gentle way of getting them ready for the following spring.
However, given the fluctuations in our climate, I've planted bulbs in winter with success. Life is busy and sometimes you don't get around to it. I find it's better to get them in late than not at all.
Any lifted bulb will only last roughly one year (12 months) once lifted. Any longer than this, and it starts to either rot or dry up beyond repair. Remember that these lifted bulbs are still transpiring (ie breathing and using water). They need to get back in the ground to replenish these lost nutrients and hydrate; if not, they will die.
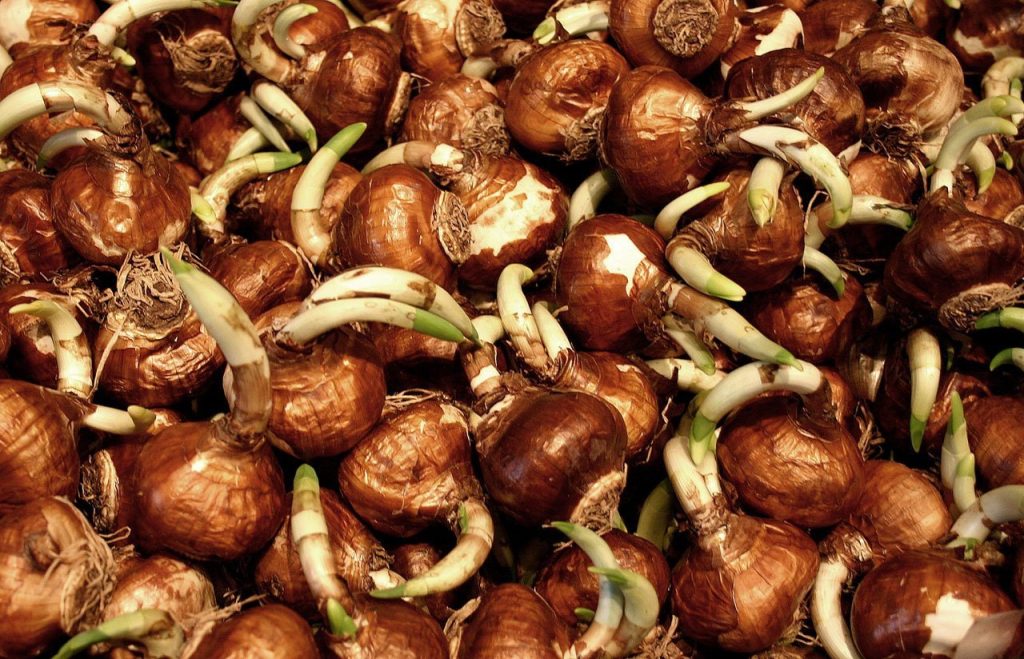
As the vibrant colours of spring bulbs begin to grace our gardens, the last thing we want to see are signs of disease or pest damage tarnishing their beauty. Yet, like all living things, spring bulbs are not immune to the challenges posed by pests and diseases.
From fungal infections to pesky critters, these threats can affect the health and vitality of our spring bulbs. Let's delve deeper into the common pests and diseases of spring bulbs like daffodils:
Planting spring flowering bulbs is a wonderful way to garden. They provide early pollen for honey bees and insects, along with brightening up the winter gardening months. Bulbs can be planted in containers and even the smallest of gardening spaces, so they are well worth the effort.
Buying bulbs online in the green is a rapid and successful way of planting spring bulbs. I bought mine from Gee Tee bulb company which has an excellent range of bulbs in the green. Check out their website or speak to them on Twitter for more help and advice.
If you have questions or comments on spring bulbs, why not let me know below? You can Tweet, Facebook or Instagram me. You can also follow me on Youtube, where I’ve got plenty of garden guide vlogs!
Happy Planting!


JOIN THE NINJAS
Be the first in line for new Guides, Discount codes and Offers