-
Clematis Ultimate Growing & Pruning Guide
 Lee Burkhill: Award Winning Designer & BBC 1's Garden Rescue Presenters Official Blog

Today, we’re diving into the world of the Clematis plant genus, the queens of climbers. These stunning climbing plants can transform any vertical garden space with huge blooms and vine-like foliage. The beauty of the Clematis plant group is that they help bring greenery vertically to your garden as they grow and scramble up pergolas, arches, obelisks, and trellis, allowing you to fully green up walls and other vertical garden spaces.
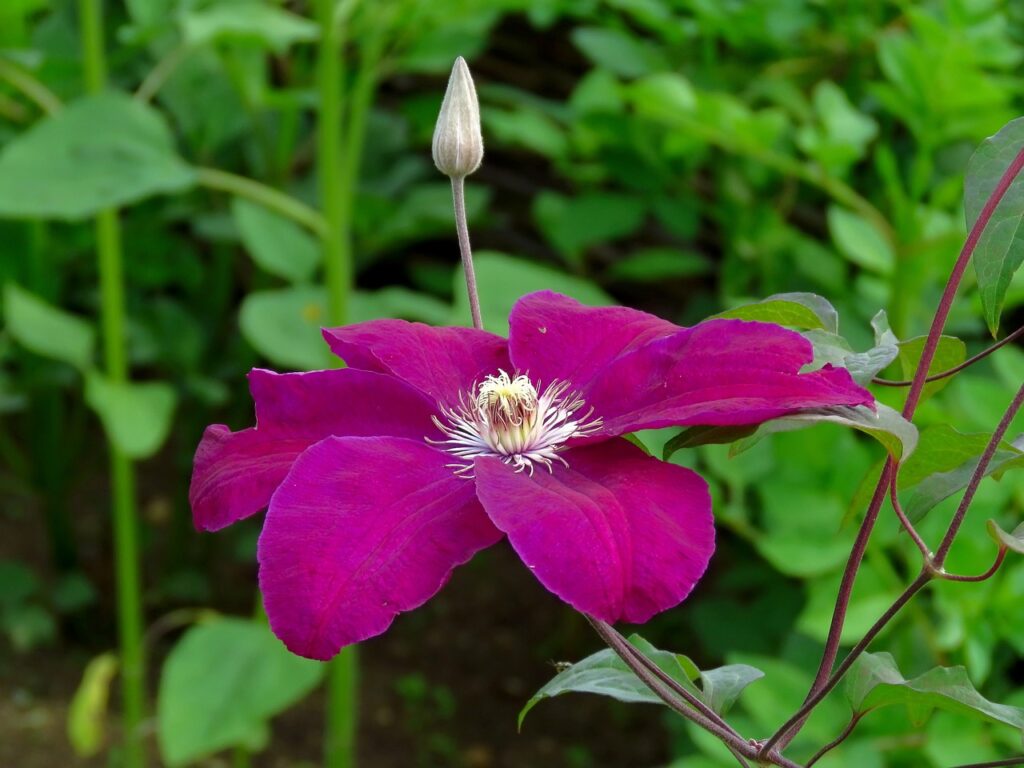
Whether you’re a novice gardener or a seasoned pro, I’ll walk you through everything you need to know to keep your Clematis thriving, from how to plant them to pruning these climbing plants.
Clematis are a great beginner climbing plant and once established they will reach for the stars each year. They are vigorous climbing plants great if you need to cover a fence panel, shed or structure in the garden quickly. However, Clematis do have some exacting soil types, planting requirements and pruning needs which we are going to discuss in this aritcle.
First things first, selecting the right clematis variety is crucial. This is where a lot of the confusion comes in, as you have three main groups of Clematis based on when they flower each year.
The three groups relate to the time of year when the clematis flowers. So when you see a Clematis for sale or a plant label, it should tell you whether it’s in group 1, 2, or 3 so you know when it will flower and when it’s best to prune it.
Group 1 Early, mid-season or late flowering Clematis blooms from March to May.
Group 2 Mid-season flowering Clematis flower twice from May to June and a second flush from August to September.
Group 3 Late flowering Clematis flower July to September.
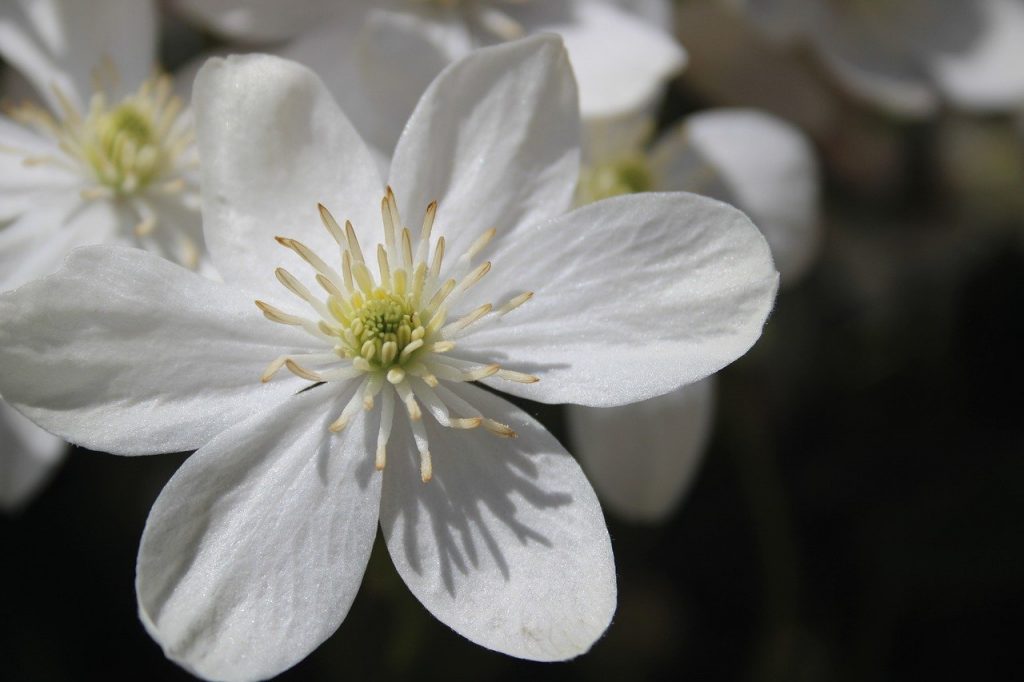
Group 2 can also have a second flush in August to September.
Like Roses, when choosing a Clematis, there are thousands of cultivars and species to choose from, which can put gardeners into decision paralysis! Which do you choose? How do you narrow them down? Well, fear not, Garden Ninjas. Here are my top three Clematis for beginner gardeners.
Once you have succeeded with the Clematis above, it’s time to move on to more specific and nuanced Clematis species.
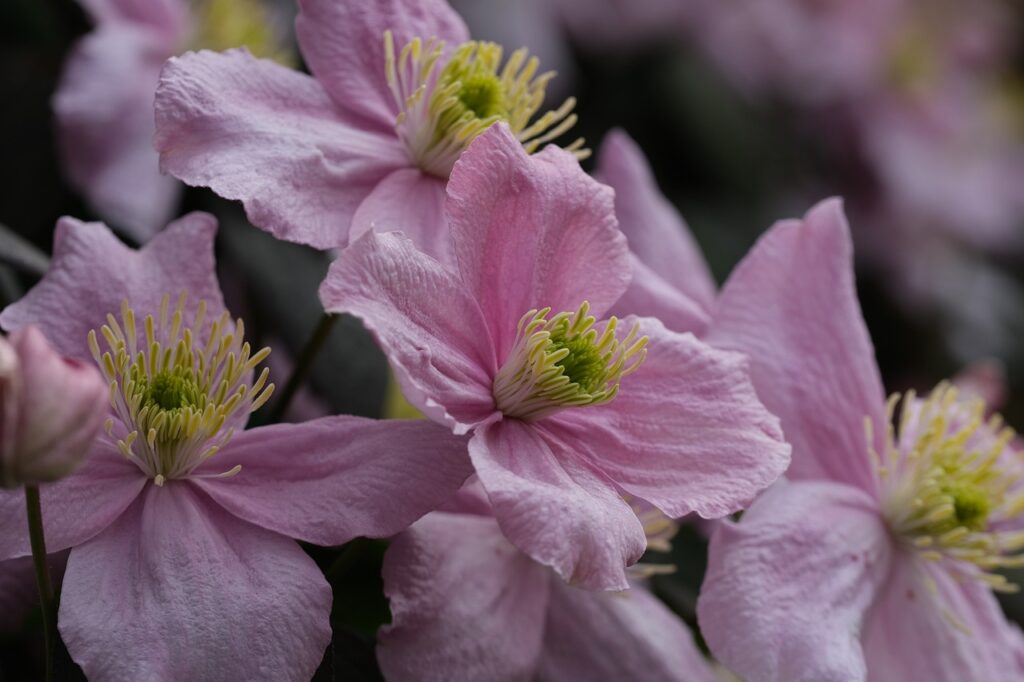
Clematis are relatively fuss-free plants, but one thing that can’t be rushed or ignored is the planting position to establish them. Although clematis are vigorous climbing plants, their stems are surprisingly weak and vulnerable for the first 3 to 5 years. This is where most gardeners fail with Clematis: They plant them incorrectly or damage the main lead stem, so the whole plant dies! Let me help you plant your Clematis the correct way.
Clematis loves sunlight but prefers cool roots. The phrase is ‘Cool feet and hot heads‘. Which can be quite tricky for newer gardeners. The best way to think of this is planting a Clematis next to either a wall, fence or the back of a full border where other plants shade the base of the Clematis.
Choose a spot where the plant can get at least six hours of sunlight a day, with shade at its base. Apart from Clematis ‘Old Mans Beard’ (Clematis vitalba), which will tolerate partial shade all around, nearly all other Clematis need a good portion of sun throughout the day. See below for the shade-loving native woodland Clematis ‘Old Mans Beard’—but beware—it’s very rampant!
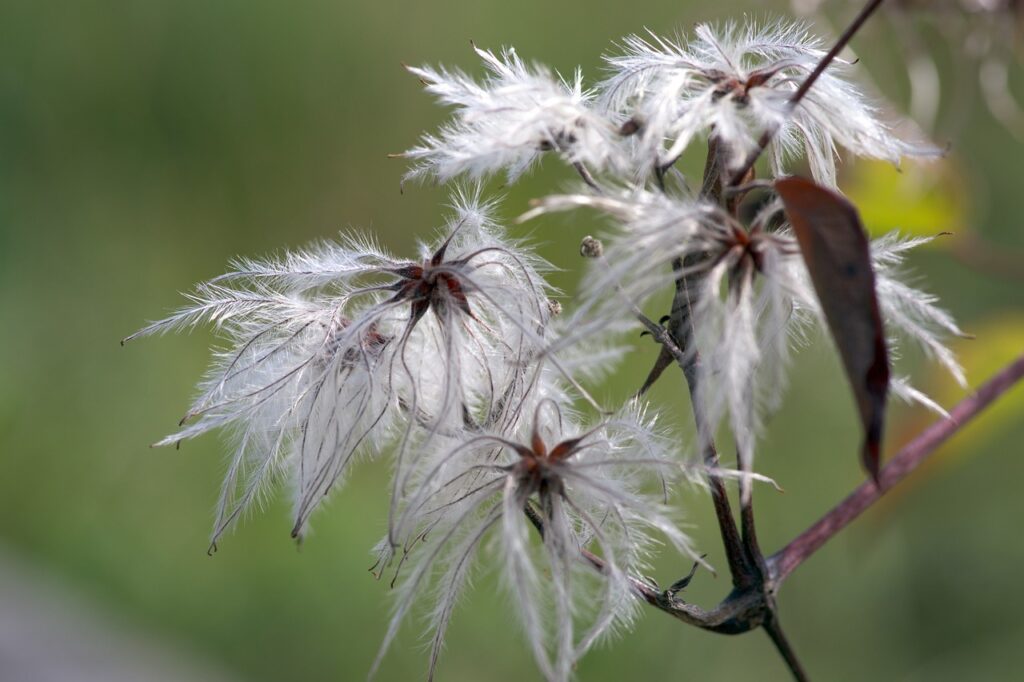
Clematis love free-draining soil and will struggle in waterlogged, heavy, or fudgy clay soil. Clematis thrives in slightly acidic to neutral pH levels. Improve heavy soil with compost or well-rotted manure to help open up the soil texture.
Once Clematis is established, they will not be too fussy about soil. However, heavy clay will prove tricky for a Clematis to establish before the roots rot, and the same is true for super arid sandy soil. If you have very free-draining soil, add plenty of compost two weeks before you plant the Clematis to allow the soil to hold onto more moisture and settle first.
Plant the clematis about 2-3 inches deeper than it was in its pot. This encourages strong root growth and reduces the risk of wilt. Even covering the main stem by an inch is fine. The biggest problem is people plant them at the same level as the pot, which you do for 99% of either plant, but NOT Clematis!
If you plant at the regular height, the frail main stem risks snapping or drying out, which is why we plant them deeper. Another trick is to smash the bottom out of a terracotta pot, turn it upside down, and feed the climbing clematis main stem and foliage before planting. This acts as a protective sheath for the Clematis and stops you from accidentally standing on the main stem or putting a spade through it when tending to your borders!
Clematis are thirsty plants, especially during the growing season. From May to July keep the soil consistently moist but not waterlogged. A good mulch layer around the base helps retain moisture and keeps the roots cool. If you put your finger in the soil around the base and it comes out clean, then goive your Clematis a water.
Feeding your Clematis is key to vibrant blooms. In early spring, apply a balanced slow-release fertilizer, such as a peat-free compost mulch or some slow-release fertilizer granules. Once the plant starts blooming, switch to a high-potash feed, like tomato fertilizer or homemade comfrey tea, to encourage more flowers.
Pruning can seem daunting, but it’s essential for healthy growth and abundant blooms. Clematis are divided into three pruning groups depending on when they flower. These groups then provide guidance for when to prune your Clematis.
Once your Clematis gets established, 2-3 years old, yearly pruning is a must to keep it healthy and floriferous. Leaving your Clematis to go rampant will lead to lots of growth and flowers on the top but nothing on the bottom—bare stems!
New and beginner gardeners can often get overwhelmed by the 3 groups of Clematis and get confused about when and how much to prune them back. For most novice gardeners, Clematis pruning confusion means they don’t prune their Clematis at all for fear of killing it, which results in lots of foliage, twiggy bottoms, and few flowers.
Trust me when I say that any pruning of Clematis is better than none. Let me show you how to work out which Clematis group your plant belongs to, even if you’ve lost the label or are dealing with an unknown Clematis species.
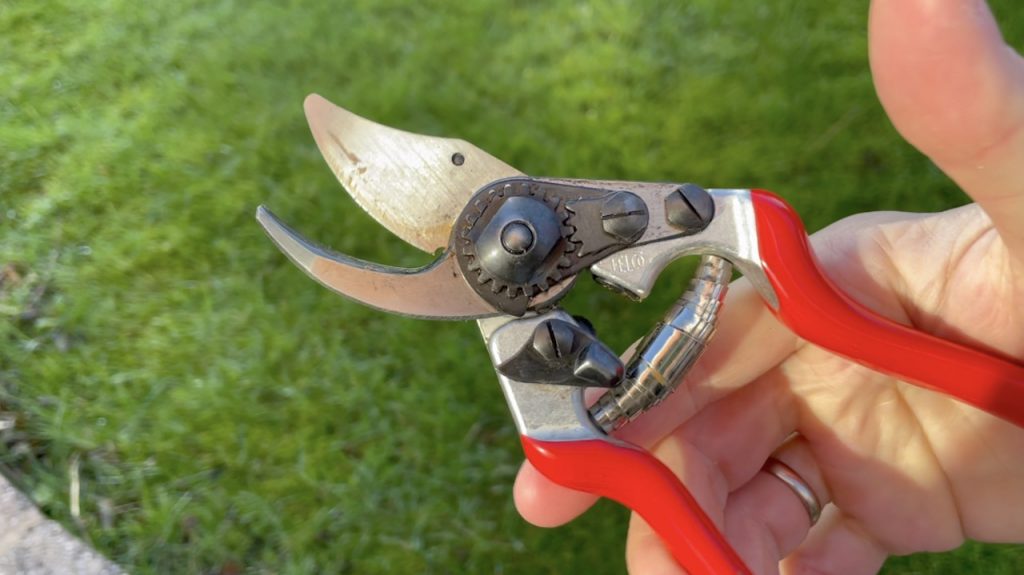
When pruning garden plants, you’ll need clean, sharp equipment like secateurs or scissors; ensure they have been washed, cleaned, oiled, and sharpened before use. This stops the spread of disease and ensures that your secateurs don’t tear the plant material (because they are too blunt) and make clean cuts that heal quickly.
Begin by removing dead or weak stems. This will keep the plant healthy and free from disease. Anything snapped, weak-looking, or yellowing (chlorosis from lack of sun) can be removed.
Work around the Clematis with sharp secateurs, removing all spent flowers. Don’t just nip off directly under the flower; take the entire shoot back to strong, woodier stems or branches.
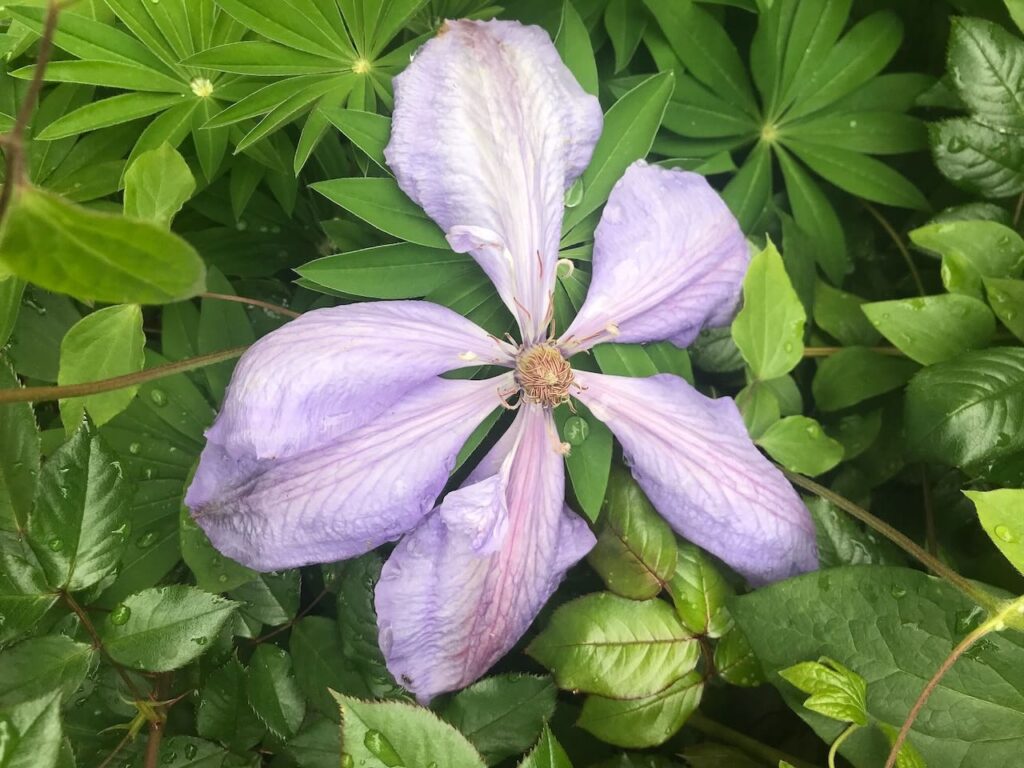
After removing deadwood, lightly trim back any overly long stems to maintain the desired shape and size of the Clematis. Avoid cutting into the thicker, older stems, as they will likely bear flowers next season. For vigorous Clematis cultivars, I tend to remove at least 1/3 of the plant, if not half.
Avoid cutting in the middle of a stem, as this will just die back to the next leaf or bud further down (as this is the part that will grow back). So cut just above a leaf and bud to prevent this.
If the plant has become too large or unruly, you can prune it more severely by cutting back some of the older stems to a pair of healthy buds. This may feel brutal, but for really old Clematis, it can be a great way to regenerate them. However, be aware that this may reduce flowering the following spring.
Now that we know a bit more about the three groups of Clematis and how to prune them, let’s take a closer look at when each group should be pruned to keep your Clematis in tip-top shape year after year.
Prune these early flowering clematis immediately after they finish flowering, typically in late spring or early summer. Using clean, sharp secateurs, tidy up any damaged, brown or lacklustre shoots or leaves. I tend to opt for a 1/3 cleanup directly after flowering.
This group flowers on old wood, meaning they bloom on growth from the previous year. Pruning after flowering allows the plant to develop new growth to produce next year’s flowers.
Examples: Clematis montana, Clematis alpina, Clematis armandii
Prune these clematis in late winter or early spring (February or March) and again lightly after the first flush of flowers in early summer.
Group 2 clematis bloom on both old and new wood. Pruning helps manage the plant’s size, shape, and flowering performance by promoting both early and late blooms. It stops these group 2 Clematis from running riot and looking untidy!
Examples: Clematis ‘Nelly Moser’, Clematis ‘The President’, Clematis ‘Bees Jubilee’
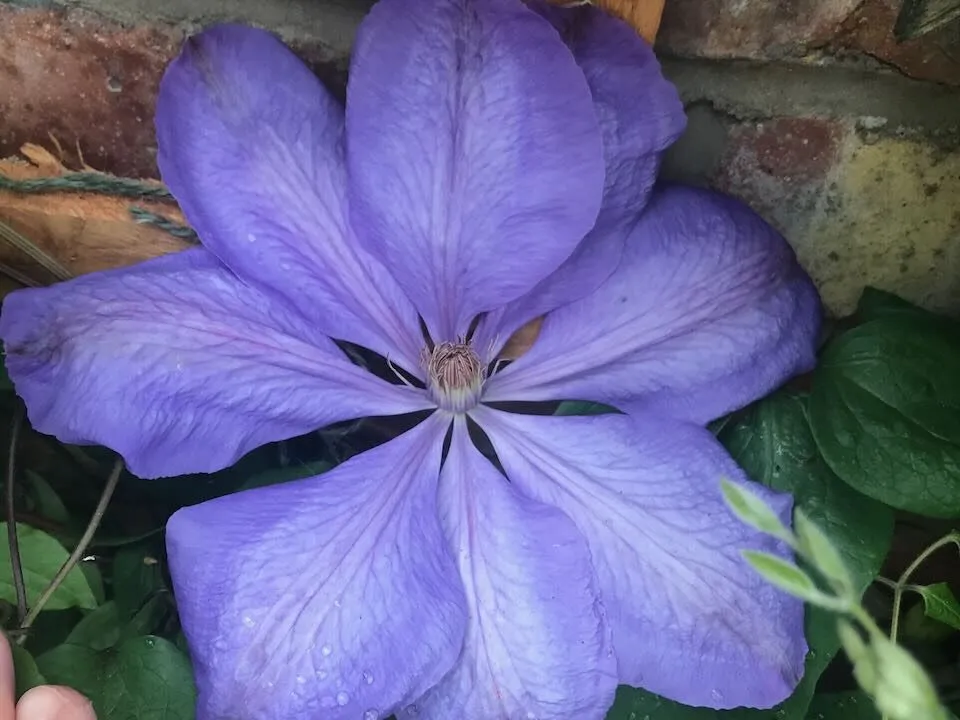
Prune these clematis in late winter or early spring (February or March) before new growth begins. This is because they need the full season to put on growth for those much-needed flower buds. Don’t prune directly after flowering with these as they are still active, and pruning at this time can zap their strength or lead to winter damage from frosts. Wait until they are dormant in late winter.
Group 3 clematis bloom on new wood, meaning the flowers develop on the growth produced during the current growing season. Pruning encourages strong, healthy new growth that will produce abundant flowers.
This group of clematis are the summer showstoppers, flowering from mid-to late summer on the top 60cm (2ft) of the current year’s growth. However, if you don’t prune them, they can quickly become a tangled mess, with flowers blooming way above eye level and bare, scraggly stems below. Prune these late-flowering beauties hard in February to avoid this chaos, returning them to the lowest pair of healthy buds. This keeps them tidy, encourages new growth, and ensures their blooms stay where you can enjoy them. Trust me, your clematis will thank you!
Examples: Clematis ‘Jackmanii’, Clematis ‘Comtesse de Bouchaud’, Clematis ‘Polish Spirit’
If you need to renovate an old or out-of-control Clematis, you can do this by hard pruning. A hard prune takes the plant back to neat ground level, removing all existing growth. Cut back all the stems to about 12 to 18 inches (30 to 45 cm) above the ground. Ensure each cut is made just above a pair of healthy buds.
This hard pruning may seem drastic, but it is necessary to stimulate vigorous new growth and prevent the plant from becoming woody and unproductive.
You may have read about winter vs summer pruning with Clematis. This is because for some garden plants, like fruit trees, the time of year you prune influences whether the plant puts on growth or restricts growth. For apple trees, for example, summer pruning restricts growth, whereas winter pruning, when dormant, encourages growth the next year. This isn’t true for Clematis as much, but it’s important to understand why we prune at certain times of the year.
Winter pruning is usually reserved for group 3 Clematis or if you need to hard prune a Clematis, especially if you have inherited a really overgrown one. Do this in February or late winter.
Summer pruning is more maintenance, removing spent flowers and tidying up the Clematis ready for next year. It’s less harsh, though if necessary, you can hard prune a clematis in August.
Clematis are natural climbers, but they need a little help. Provide a sturdy trellis, arbour, or support for the vines to cling to. Train the young stems to grow in your desired direction, securing them loosely with garden ties. But once the growing season starts, you’ll find that Clematis sends out more growth than you can easily contend with. This is why it’s so important to have enough trellis, wires, or lattice for the Clematis to grow and adhere itself to as it wraps its twining stems around.
Options for supporting Clematis:
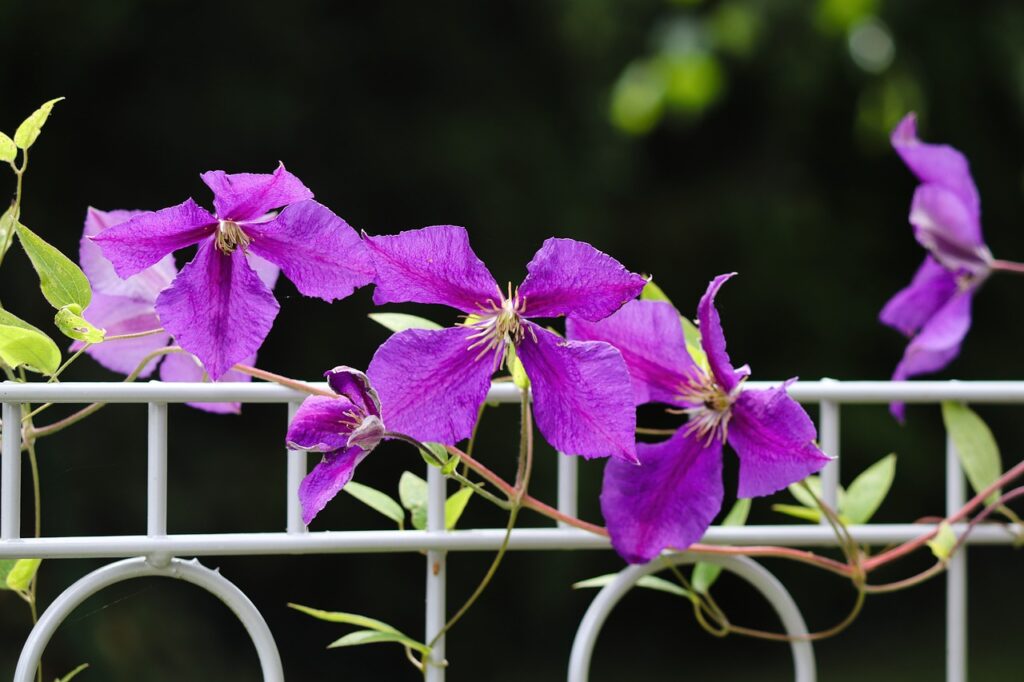
You will be surprised by the weight of a fully grown Clematis, so make sure your trellis is strong enough and well screwed to the wall or fence panel to cope with the mass. I’ve seen many cheap, flimsy trellises being pulled down by a fully-grown Clematis Montana!
Clematis are relatively hardy but susceptible to a few pests and diseases. Even with the best care in the world, gardening plants can be affected by disease, pests, or viruses. Most of these are found when the plant is stressed, or pests are left out of check.
Aphids are tiny, soft-bodied insects that feed on clematis by sucking the sap from tender growth, including flower buds and stems. They can weaken the plant and cause distorted growth.
Signs of Aphids:
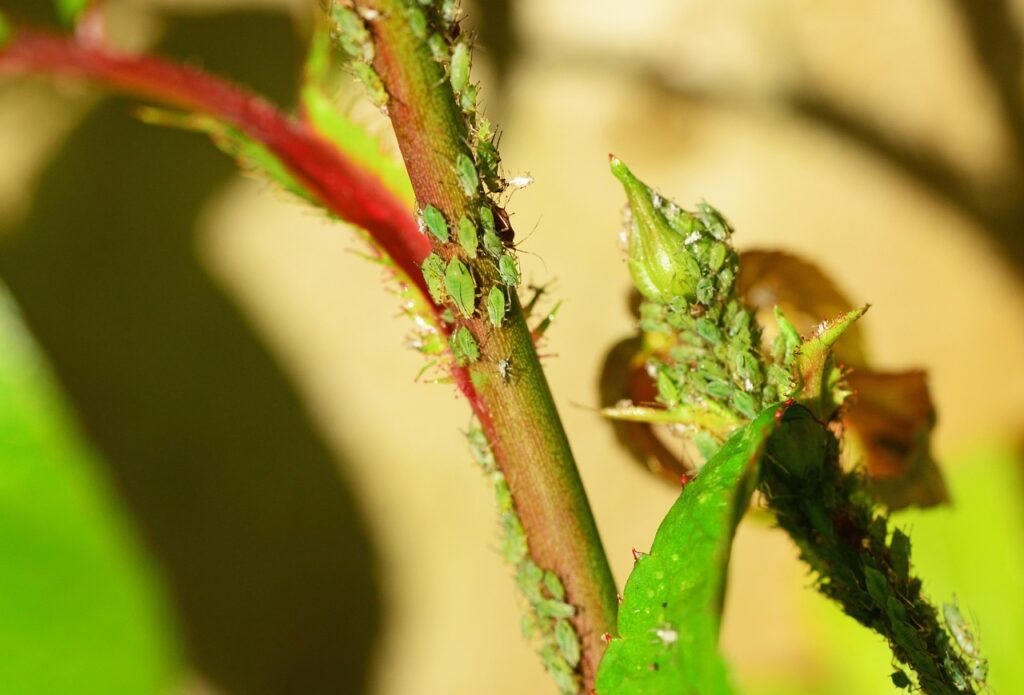
Treatment:
Slugs and snails love to munch on young clematis shoots and leaves, particularly when the plant is in its early growth stages. They can cause serious damage, especially to new plantings.
Signs of Slugs and Snails
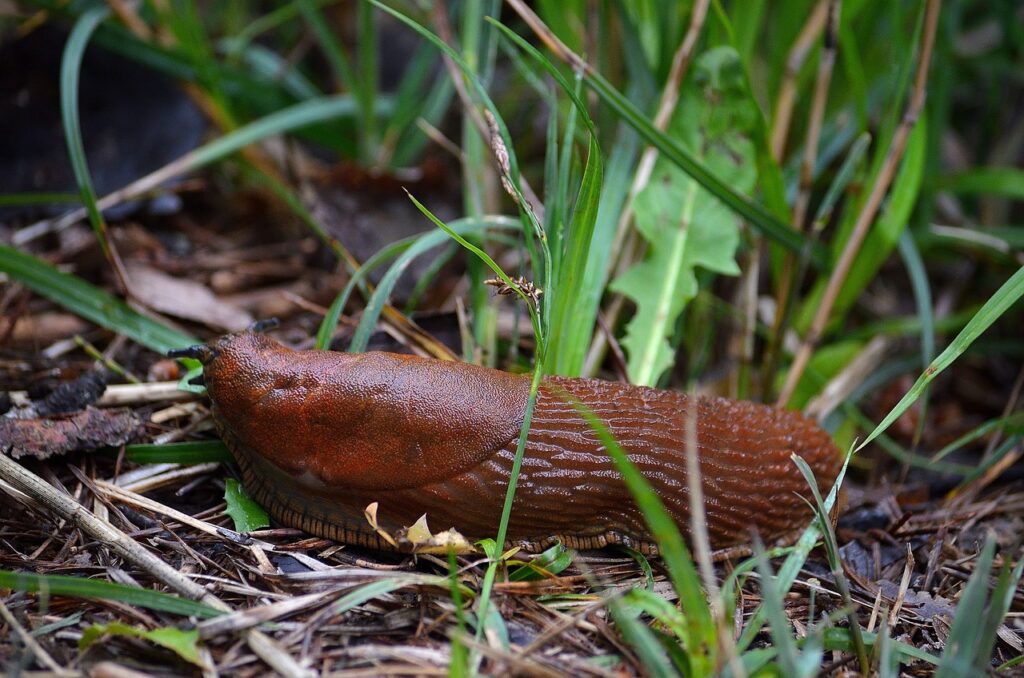
Treatment
Spider mites are minuscule pests that thrive in hot, dry conditions. They feed on the sap of the clematis, causing leaves to look speckled or bronzed. They zap the energy of your Clematis and can cause it to wlt or look lacklustre.
Signs of Spider Mites
Treatment
Clematis wilt is one of the most dreaded diseases for clematis growers. It’s a fungal disease caused by Ascochyta clematidina and typically affects large-flowered varieties. Unfortunately, once it starts, it’s really difficult to stop or treat other than burning the infected plant. Don’t confuse Clematis wilt with dehydration from lack of watering. The key sign for this disease is the blackening of the stems.
Signs of Clematis Wilt
Prevention and Treatment:
Powdery mildew is a fungal disease that covers the clematis leaves with a white or grey powdery coating. It thrives in humid conditions and can affect plant health by reducing photosynthesis. When it’s gone off, it looks a bit like the mould you see on bread, and it makes the plant look dusty.
Signs of Powdery Mildew
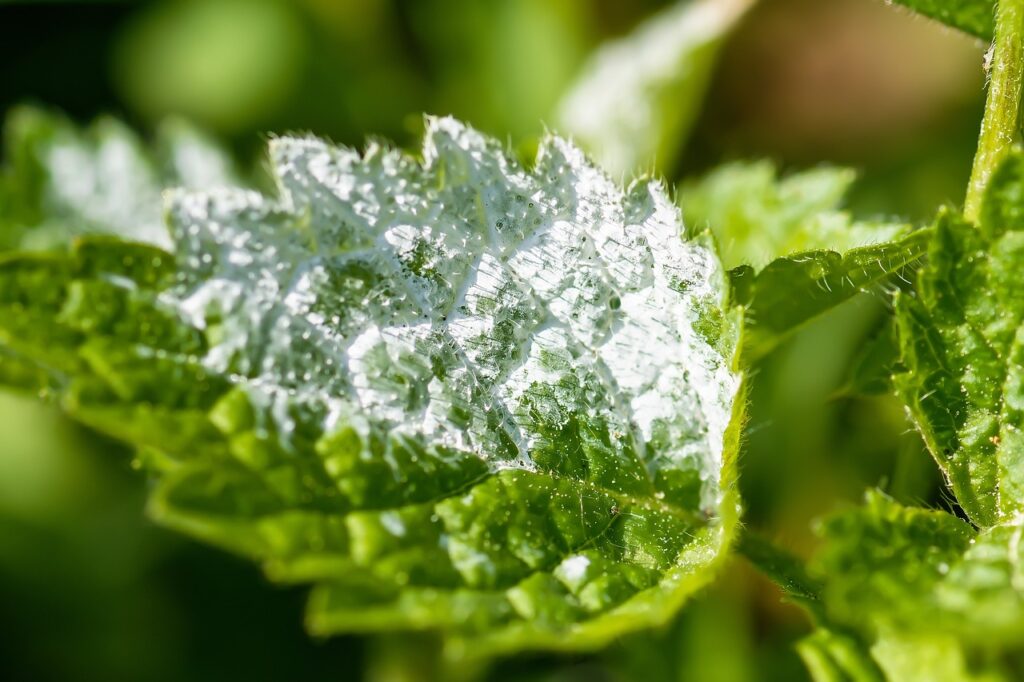
Treatment
Root rot is often caused by waterlogged soil or poor drainage, leading to fungal infections in the roots. It can be devastating to clematis plants. The first sign is the yellowing of the leaf. If you spot this, put your finger in the soil to check if the Clematis is waterlogged or not. The smell will also give it away, as it smells a bit fishy or like rotten eggs when you pull your finger out!
Signs of Root Rot
Prevention and Treatment
Rust is a fungal disease that causes orange or reddish spots on the leaves. It primarily affects the plant’s aesthetic but can weaken it if left untreated. Rust is usually caused by heat stress and wet springs. These damp, humid conditions allow rust to spread quickly, so you need to act fast!
Signs of Rust
Treatment:
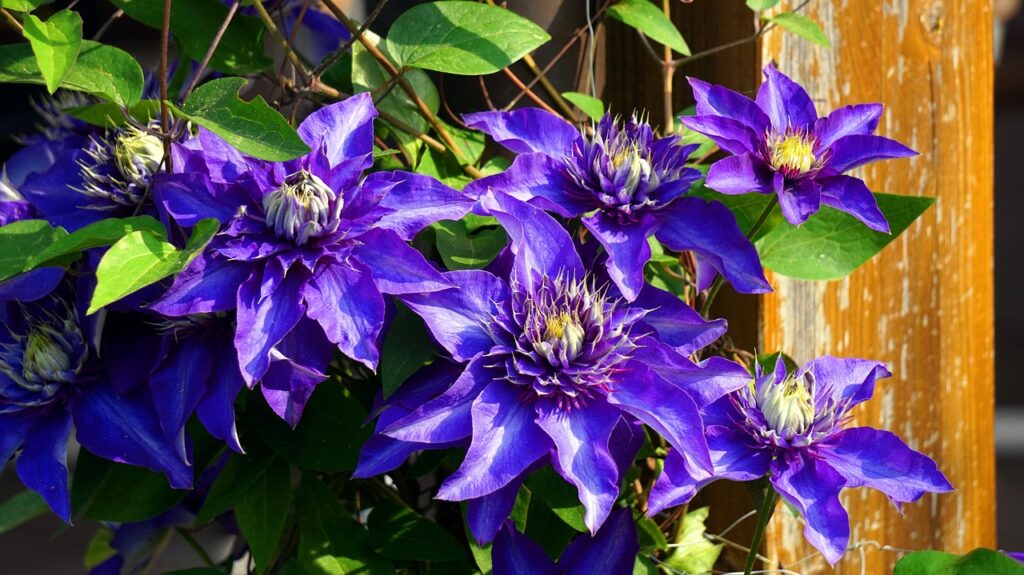
With proper care, your clematis will reward you with stunning displays year after year. Once you understand and get comfortable with the Clematis groups for pruning, you’ll be cooking on gas in the garden. Carefully consider where to best plant your Clematis for sun up top and cool roots; that way, your plants will thrive.
Remember, gardening is a journey; every challenge is an opportunity to learn and grow. So, get out there, nurture your clematis, and let your garden flourish with colour and life.
Happy gardening, ninjas!


JOIN THE NINJAS
Be the first in line for new Guides, Discount codes and Offers