How and When to Lift and Move Established Shrubs or Plants
Lee Burkhill: Award Winning Designer & BBC 1's Garden Rescue Presenters Official Blog
Beginner level
Has your beloved shrub or garden plant grown too big for its current location? Maybe you're moving house and want to take plants with you? If you're wondering how and when you can lift established plants and shrubs, this guide will show you everything you need to know. Timing is key, so let me, the Garden Ninja, take you through step-by-step!
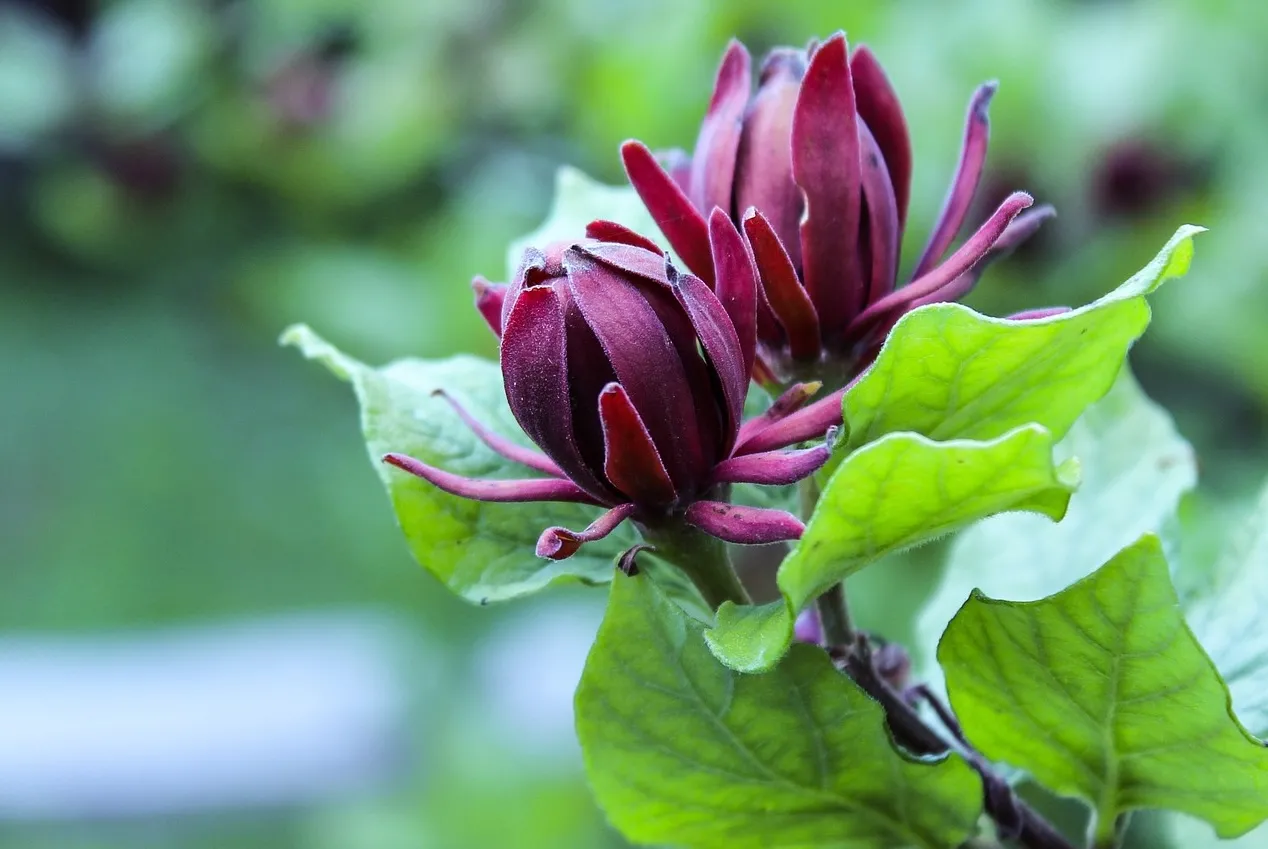
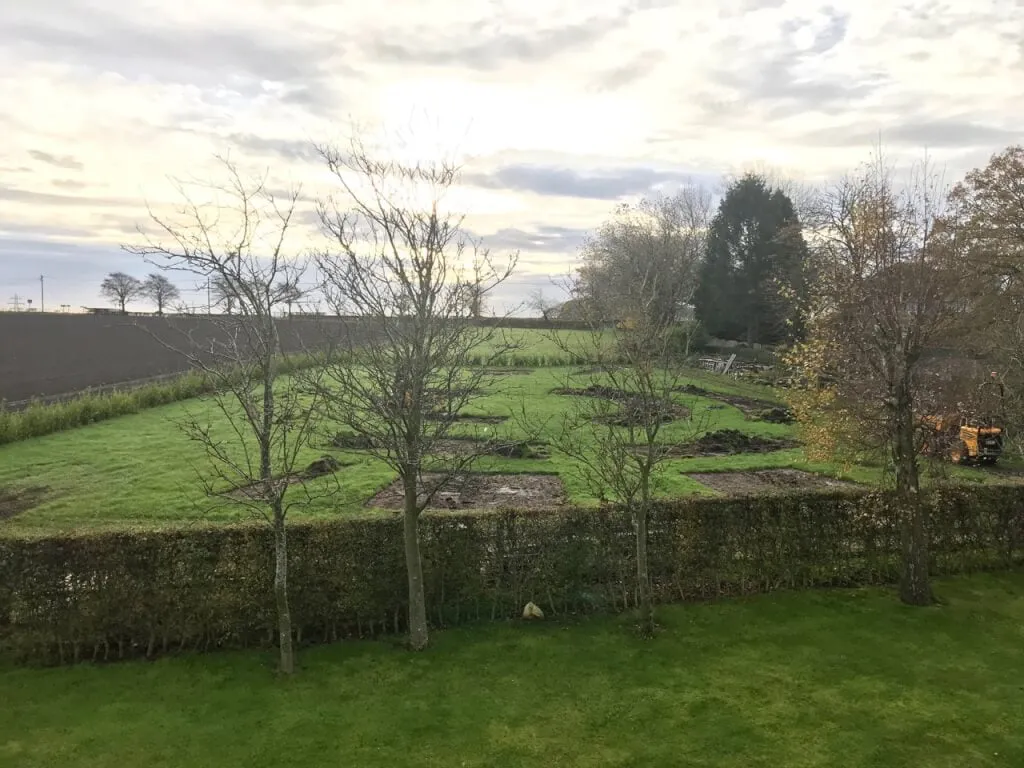
Sometimes in gardening, even the best-laid planting plans don’t quite work out. Maybe that once-small shrub has become a thug in the border. Perhaps a new shed’s gone up and plunged your prized Calycanthus into shade. Or perhaps you're redesigning your entire garden and need to start fresh with proper plant positioning and spacing. Whatever the reason, knowing how and when to move established shrubs can save years of waiting for new plants to grow and give your planting scheme a second chance, all without starting from scratch.
As always, I’m here to guide you through it—no jargon, no nonsense, and absolutely no dig-and-hope tactics. Let me explain how and when to move shrubs and plants in the garden.
When is the Best Time to Move Shrubs?
The golden rule: move shrubs when they’re dormant—typically between late autumn and early spring (October to March), avoiding periods of hard frost or frozen ground.
During this dormancy period, the plant isn’t actively growing; it is in a state of rest and reduced transpiration (fancy term for how plants uptake water, food, c02, and produce oxygen- think breathing). This reduces transplant shock and gives the roots a head start to settle before spring kicks in.
The second-best time to move shrubs is just after they have finished flowering, especially if you have to dig them up outside of their dormant period, usually when moving house or redesigning your garden in summer.
Evergreens are a bit fussier than deciduous shrubs. For evergreens like Camellias or Rhododendrons, aim for early autumn or late winter, when the soil is moist but not waterlogged. In my experience, this typically occurs as the leaves start to fall off the trees or the buds begin to emerge.
Step-by-Step: How to Lift and Move an Established Shrub
Moving shrubs may sound easy: dig, grab and move. However, rushing this and being unprepared can mean your shrub starts to go into shock, leading to the dropping of its leaves in the following weeks or struggling to adapt to its new position.
1. Water the day before
Before you grab your spade and start any digging, you need to drench your shrub the day before you move it. Consider this is the shrub's last established drink before it's lifted. Doing this vastly increases your chances of success when shifting your shrub and reduces the risk of transplant shock.
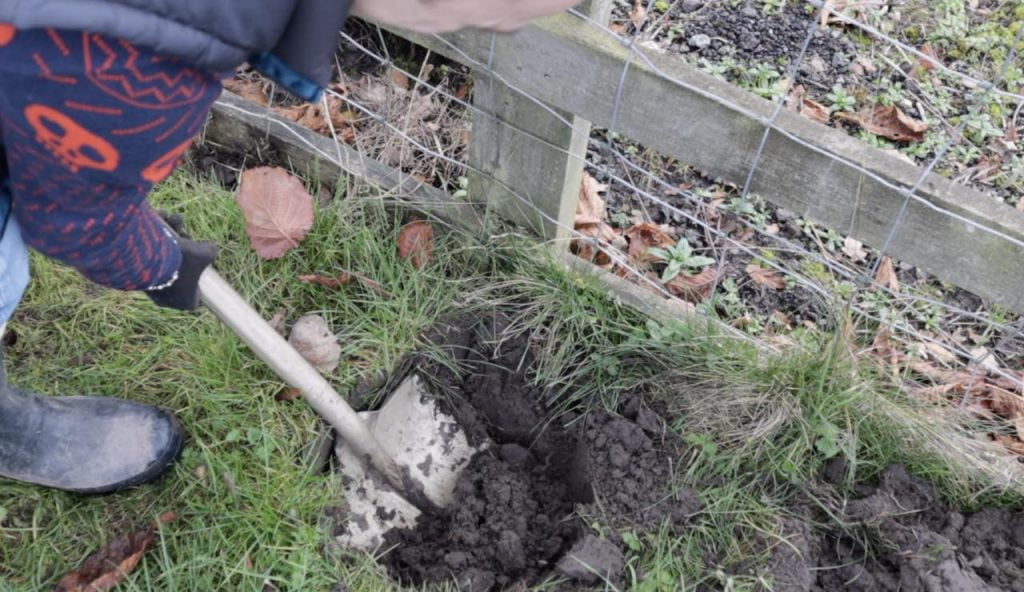
2. Prepare the New Hole First
The day after the drench, always dig the new planting hole before lifting your shrub. Make it twice as wide as the rootball you anticipate you'll be digging out and just as deep. Loosen the base and sides with a fork to encourage root penetration.
Some guides advise that if your soil is clay-heavy, mix in grit or compost to improve drainage; however, this rarely works. Instead, pick shrubs that thrive in heavy clay, such as Viburnum or Hydrangeas.
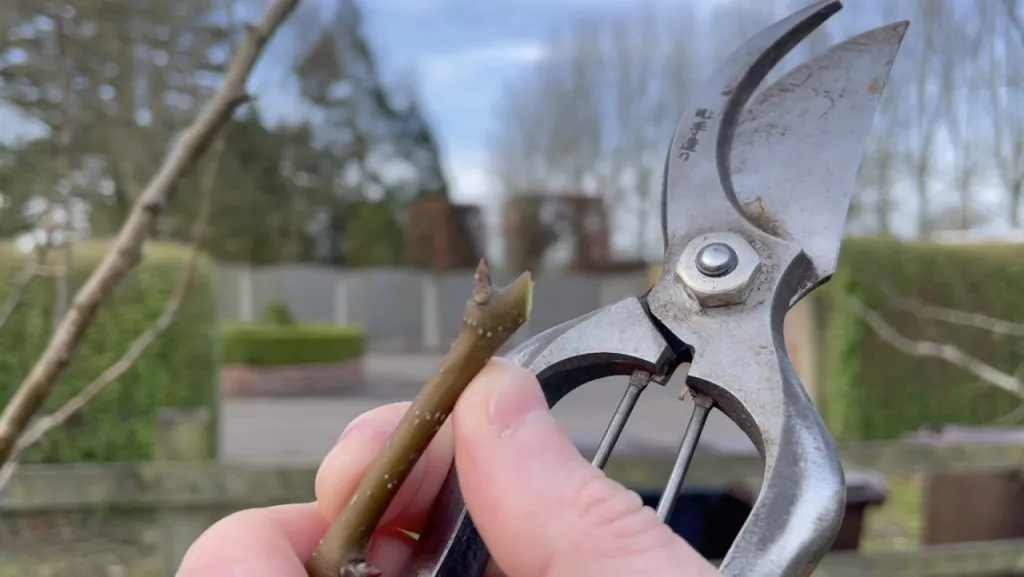
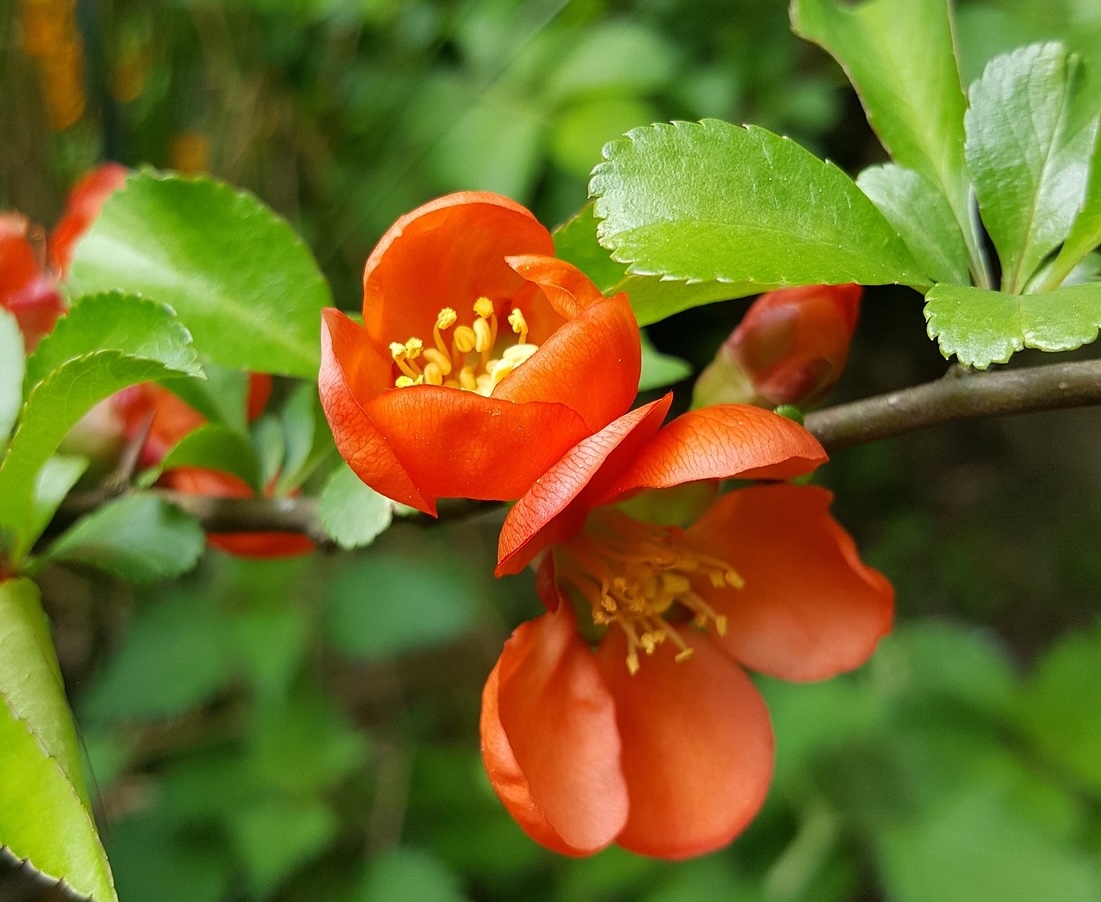
3. Prune Lightly
Before digging up the shrub, lightly prune back the top growth by about one-third. This reduces water loss through the leaves and balances out the reduced root system after lifting. It also encourages fresh new growth after transplanting.
Always prune to an outward-facing bud just above a bud, node, or leaf lateral. See below.
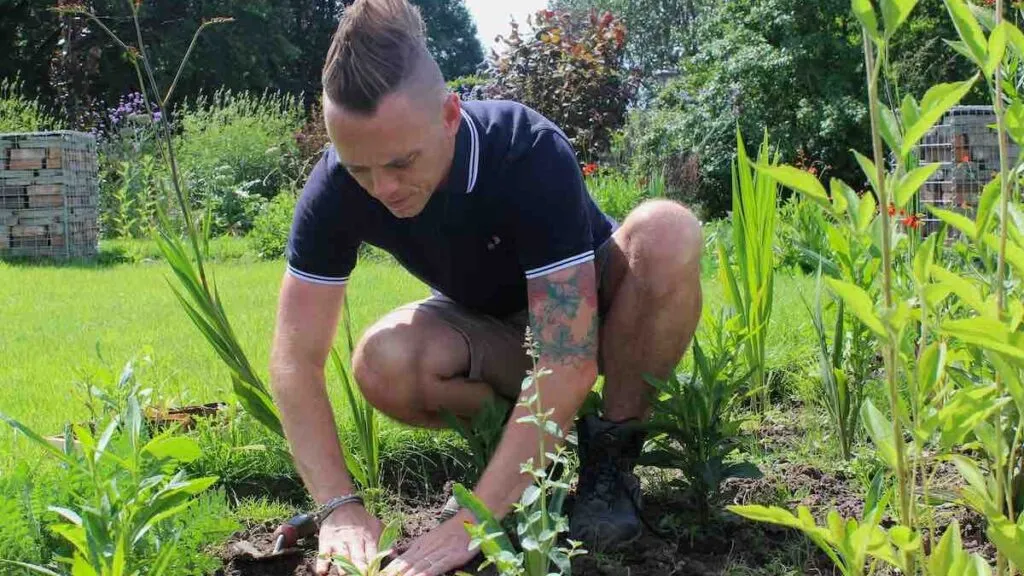
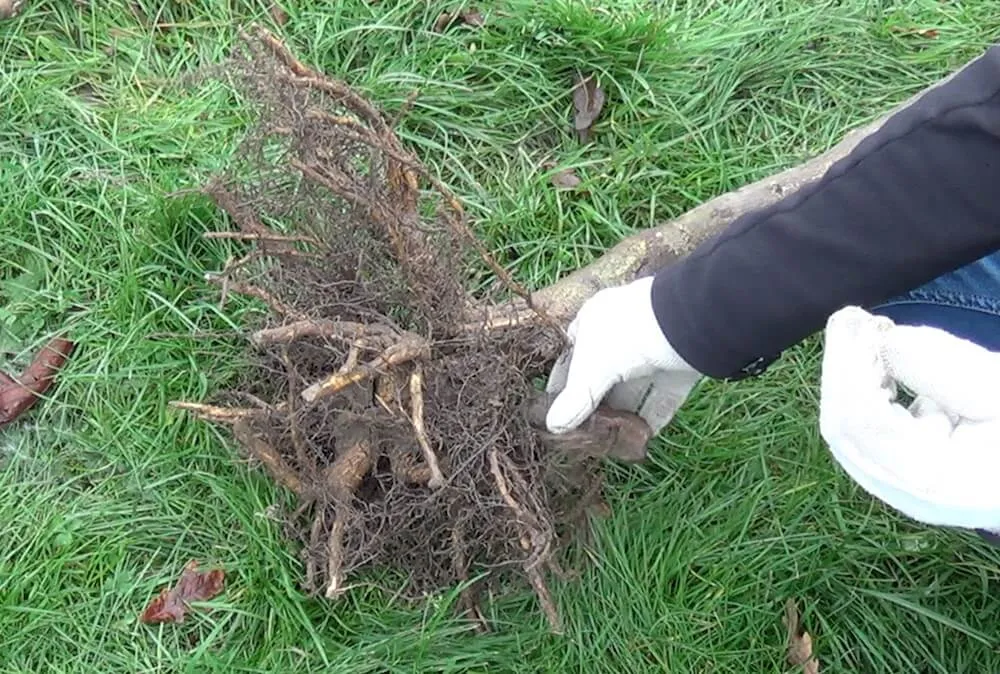
4. Lift with Care
Start digging at least 30–45cm away from the base of the shrub to avoid slicing through major roots. Work your way around the shrub in a circle, angling the spade inward to loosen the rootball.
Use a fork or spade to lever the root ball up and out gently. Try to keep as much soil around the roots as possible—this helps protect the fine root hairs, which are vital for uptake. Don't just dig on one side and try nd force or flip the shrub out. If you hear roots cracking or feel a strain, dig around the shrub once again.
5. Wrap and Move the Shrub
Place the rootball on a tarpaulin or in a hessian sack to keep it intact and prevent the roots from drying out, especially if there is a delay between lifting and replanting. You can also reuse old compost bags too.
I avoid using plastic trug buckets to pop them in, as they tend to knock off most of the soil when trying to lift the transplanted shrub out. Carefully move the shrub on the tarpaulin or bag to avoid snapping its roots. If in doubt, ask someone to help you lift and relocate the shrub or use a wheelbarrow.
6. Replant the Shrub Promptly
Place the shrub in its new hole at the same depth it was previously growing. The base of the stems should be level with the soil surface. Backfill with the excavated soil, firming it gently with your heel (also known as heeling in) to eliminate air pockets and ensure the roots have maximum contact with the soil, allowing them to access water, nutrients, and all the beneficial bacteria.
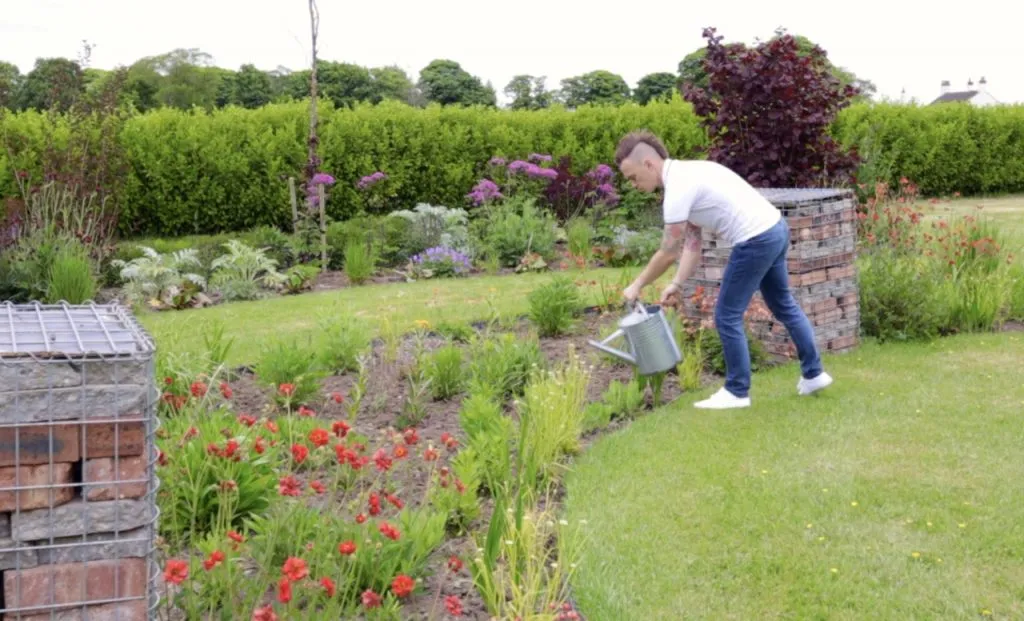
7. Water Well
Water thoroughly after planting to help settle the soil and keep the plant hydrated. I water newly transplanted shrubs every day or two for the first two weeks. You can't overwater them after transplanting for the first few weeks, better to water too much than not enough Ninjas!
Continue to water regularly, especially during dry spells, for at least the first year as the shrub re-establishes.
8. Mulch and Monitor
Apply a thick mulch (5–7 cm) around the base of peat-free compost or homemade leaf mould, keeping it away from the stem, to conserve moisture and suppress weeds. Keep a close eye on it for signs of wilting or stress, especially in the first 6–8 weeks.
9. Do not feed
This is really important and often misadvised by other so-called expert gardeners and influencers. There is no need to feed a newly transplanted shrub. It will not help it establish any faster and can actually prevent the shrub or plant from rooting properly, as they don't need to search out food or water as readily. Treat the shrub harshly, and it will send out more roots in search of food. Pamper it, and the shrub will take longer to settle, risking more potential teething issues.
Can I lift and move an Established Tree?
The answer is theoretically yes, you can; however, for most urban or residential gardeners, the answer should be NO!
With the right mechanical equipment, mature trees and shrubs can be lifted when they are dormant and moved, and with the right aftercare, they will survive. However, we're talking large, heavy machinery that extracts large root balls, wraps them in mesh and then transports them.
In my experience, a beginner or even expert gardener with a garden spade alone will not be able to move anything other than a 2-3-year-old sapling without a huge risk of the tree dying during the process.
My advice is to work with the tree and design around it rather than try to lift and move it to a new location. Unless you can lift a young tree single-handedly in winter, it will not transplant well. i.e if three of you need to man-handle the dug tree to a new position, the chances are the rootball is too big to move, and it would require huge amounts of water to survive the move.
Common Mistakes to Avoid When Moving Plants
Let's examine the primary reasons why gardeners struggle when attempting to move, relocate, or transplant shrubs from their gardens.
A) Moving during active growth
One of the biggest mistakes gardeners make is trying to move shrubs in the height of their growing season—usually late spring through summer. It might be tempting to do it on a sunny afternoon when you're in the mood for a bit of border reshuffling, but it's a surefire way to stress the plant. During this time, shrubs actively pull water and nutrients up through their roots to fuel the growth of their leaves and flowers.
Disturbing them now risks severe transplant shock. Think of it like yanking someone out of a marathon mid-run and expecting them to sprint in a new direction. Always aim to move shrubs during their dormant period, typically from late autumn through early spring. That way, you’re giving the roots time to re-establish without the top growth demanding energy if you can't water them thoroughly the day before and lift in early morning or evening out of the midday sun.
B) Lifting with a tiny rootball
It’s easy to underestimate how far a shrub’s roots reach. Grabbing your spade and hacking a tight circle around the base might seem like the fastest option, but doing so can leave you with a pitiful rootball and a severely weakened plant. Shrubs, even small-looking ones, can have wide-reaching roots, especially if they've been in place for more than a couple of years.
Aim to dig at least 30–45 cm away from the stem to obtain a generous root ball with plenty of surrounding soil attached. Keeping the soil intact around the roots not only helps protect those delicate root hairs but also maintains the micro-environment they rely on. The more roots you can take with you, the better the shrub’s chances of bouncing back!
C) Forgetting to water
Just because it’s winter doesn’t mean your newly transplanted shrub doesn’t need water. A common misconception is that once temperatures drop, watering can be paused entirely; however, transplanted shrubs are vulnerable to drying out, especially if they were moved on a dry day.
Roots need consistent moisture to begin the regrowth and establishment process after being disturbed. Even in cold weather, check the soil regularly and keep it evenly moist, particularly during the first 6–8 weeks. If you're planting into free-draining or sandy soils, this becomes even more crucial. Remember that getting the shrub to establish its new roots is the priority, and that can’t happen in bone-dry soil.
D) Planting too deep
This one catches even seasoned gardeners off guard. When replanting your shrub in its new home, it’s vital to ensure the rootball sits at precisely the same depth it was in its previous position. Planting it too deep, where soil covers the base of the stems or covers the crown of the shrub, can effectively smother the plant.
The roots need access to oxygen to function, and planting below the natural soil line can reduce airflow, increase the risk of rot, and even kill the plant. A good tip is to mark the soil level on the stem before liftingwith chalk if in doubt, so you can match it in the new hole. Backfill with care and resist the urge to bury it deeper “just in case”. Shrubs don’t like being smothered any more than you would under a heavy duvet in summer!
Become a Master in Garden Design
Why not consider expanding your growing and garden design knowledge with one of my online gardening courses? My Garden Design for Beginners Course is here to help you transform your garden with an affordable online course, no matter how little your experience with plants.
This course offers step-by-step guidance from me, Lee Burkhill, the Garden Ninja—award-winning garden designer and presenter on BBC1’s Garden Rescue. In this course, you’ll go from a garden design novice to a confident designer equipped to tackle any green space.
Planting Techniques – Select and arrange plants like a pro.
Design Styles & Layout Options – Explore different styles to suit every garden.
Course Features:
20 Hours of Study Time
Flexible Online Learning
Engaging Video Lessons & Quizzes
Real-World Case Studies
Certification upon Completion
Taught by Award-Winning Designer Lee Burkhill
Enrol now for just £199 and start your journey toward garden design mastery!
£29
Garden Design Examples for Small Gardens: 30 Design Templates & Planting Plans
Garden Design Examples for Small Gardens: 30 Design Templates & Planting Plans: In this online gardening course, I'll walk you through 30 fantastic garden designs, explaining the logic behind the layout, the plant choices, and take-home tips for applying them in your own garden.
Weekend Garden Makeover: A Crash Course in Design for Beginners
Learn how to transform and design your own garden with Lee Burkhills crash course in garden design. Over 5 hours Lee will teach you how to design your own dream garden. Featuring practical design examples, planting ideas and video guides. Learn how to design your garden in one weekend!
Garden Design for Beginners: Create Your Dream Garden in Just 4 Weeks
Garden Design for Beginners Online Course: If you want to make the career jump to becoming a garden designer or to learn how to design your own garden, this is the beginner course for you. Join me, Lee Burkhill, an award-winning garden designer, as I train you in the art of beautiful garden design.
Moving shrubs in the garden is a great way to redesign your flower beds or help undo the mistakes of previous gardeners or homeowners. Rather than simply ripping out shrubs, it's always better to try to relocate them. It's better for wildlife, the environment and your bank balance! If you don;t have room for the shrub why not reach out to friends and neighbours to see if they would like it instead?
The key to moving is preparation, including getting the right tools, digging a hole, and watering the shrubs well in advance. Then it's a case of moving the shrub quickly and carefully, followed by plenty of water!
I'd love to hear from you, Ninjas, about your shrub moving success stories and garden design ideas below in the comments or on Social media. You can connect with me on my Facebook or Instagram pages.
If you have a gardening question, then why not use the Garden Ninja Gardening Forum, where hundreds of Garden Ninja members can help you!


 To my YouTube channel