How to Prune Cherry Trees: beginner guide
 Lee Burkhill: Award Winning Designer & BBC 1's Garden Rescue Presenters Official Blog

Cherry trees, with their delicate blossoms and luscious fruits, are fabulous fruit trees for any sized garden. But to ensure their health, productivity, and aesthetic appeal, it's essential to understand how to prune them correctly.
Pruning a Cherry or Plum tree might sound daunting at first, but fear not! In this comprehensive guide, we'll break down the process step by step, making it easy for you to unlock the full potential of your Cherry tree. So, let's dive in Ninjas and learn how to prune a Cherry tree with confidence.
This page contains affiliate links for products I use and love. If you take action (i.e. subscribe, make a purchase) after clicking a link, I may earn some gardening commission which helps me keep the Garden Ninja Blog free for all.
Pruning Cherry and stone fruit trees is essential both for tree health and also for fruit. Left unpruned, most fruit trees will put on excessive growth wherever they can, becoming congested, out of control and looking worse for wear.
All fruit trees in the genus Prunus i.e. Plum or Cherry require specific pruning each year. The same pruning advice of pruning in spring or summer only applies to all stone fruit trees, such as apricots, Greengages and Almond trees.
Before we get our hands dirty, let's understand why pruning is essential for Cherry trees:
Pruning removes dead, damaged, or diseased branches, allowing the tree to redirect energy toward healthy growth and fruit production. Pruning actively directs energy to parts of the tree where it can fruit. When we prune we are simply controlling where we want growth, not just removing parts of the tree to stop it growing.
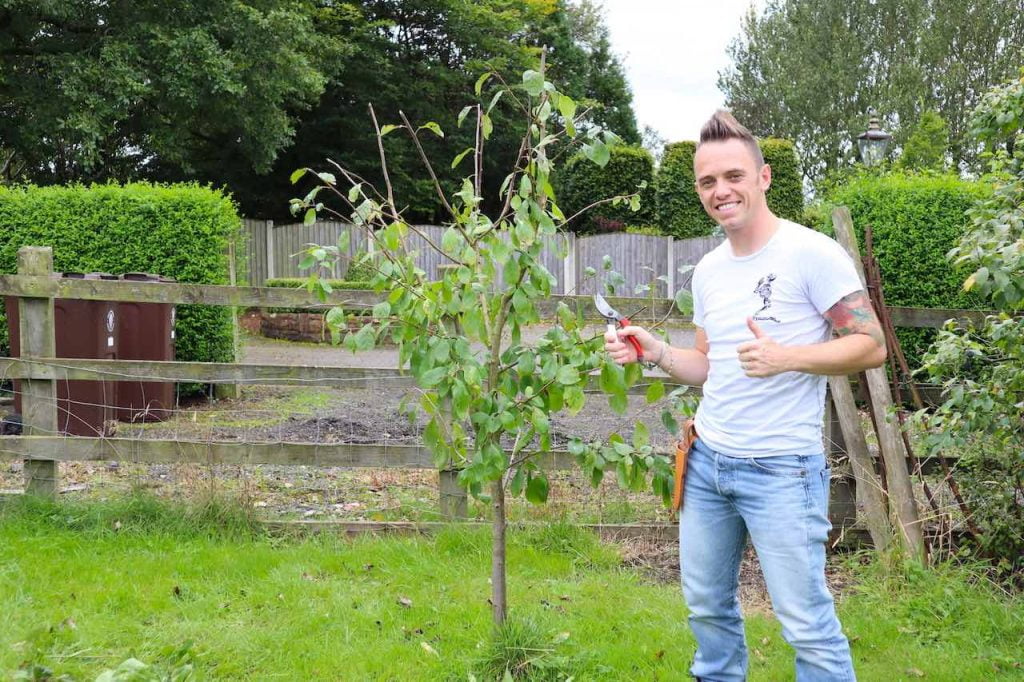
See the neat example of a young Plum tree above which has been pruned back in summer.
Proper pruning opens up the canopy, enhancing air circulation and sunlight penetration. This reduces the risk of fungal diseases and ensures that all parts of the tree receive adequate light. No one likes to feel crammed and inhale stale air; cherry trees are no exception!
Did you know that you can take my course and learn how to become a Garden Ninja yourself? Click here for details
Pruning helps to thin out excess branches, which can lead to better fruit quality and larger yields. It also encourages the development of fruiting wood. Meaning less rotten fruit and a bigger bounty each year!
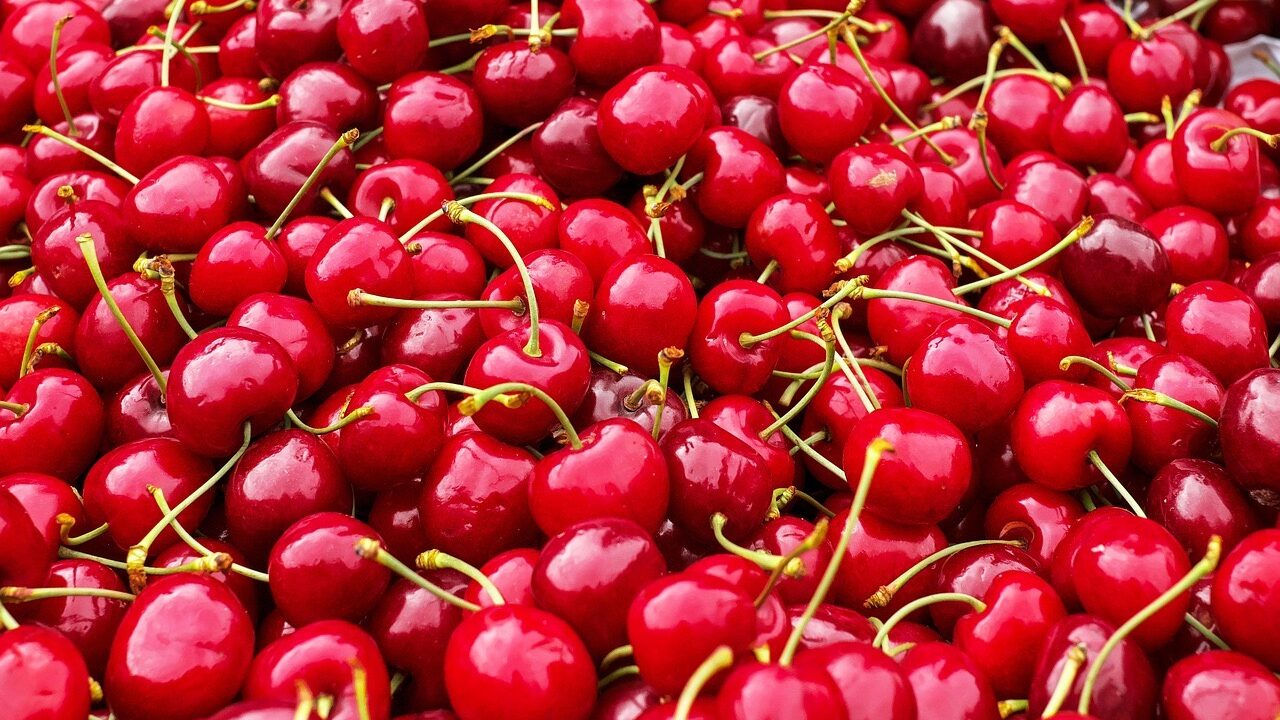
Cherry trees, like other fruit trees, benefit from regular pruning to maintain their desired shape, size, and structure. Cherry trees can be vigorous growers depending on the rootstock they have been grafted to. They will actually respond really well to a yearly prune in late summer.
Now, let's explore the steps to prune a cherry tree or any stone fruit tree effectively so you get plenty of fruit and a healthy tree!
Before you start to prune your Cherry trees, you're going to need a few key tools and pieces of equipment. The right tools for pruning Cherry trees will make it a breeze and reduce the possibility of infection or damage.
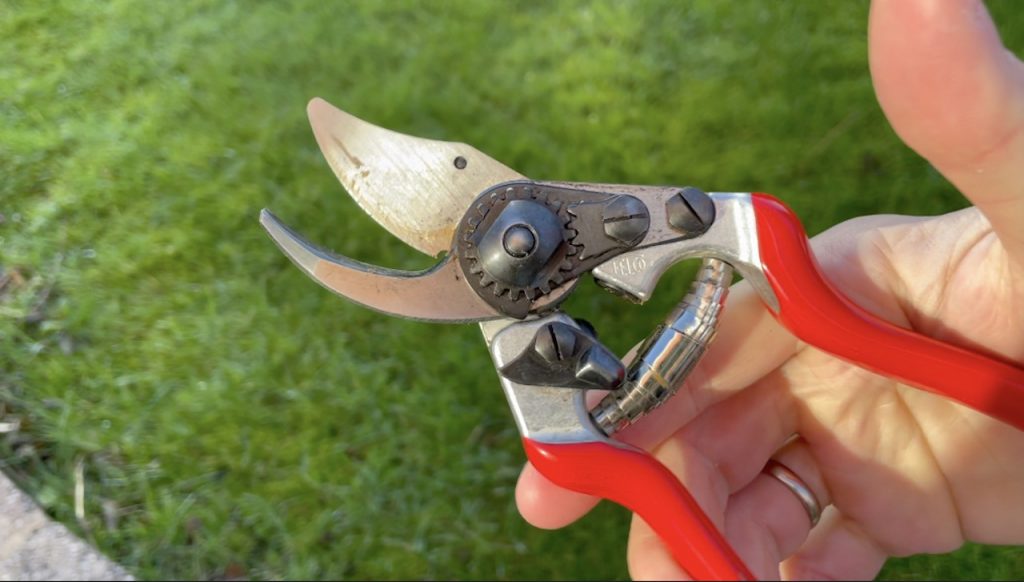
The best time to prune cherry trees is during late summer or early spring, but never in winter.
This is because Cherry trees and the Prunus group are susceptible to Silver leaf disease, which can damage and even kill a cherry tree.
Silverleaf disease, caused by the fungus Chondrostereum purpureum, affects various woody plants, particularly fruit trees and ornamental trees. It is characterized by the distinctive silver-grey appearance of infected leaves and branches.
The fungus enters the plant through pruning cuts or wounds and spreads internally, inhibiting the flow of water and nutrients within the tree. As a result, affected leaves may develop a silver sheen, and branches can become weak, dieback, or die entirely.
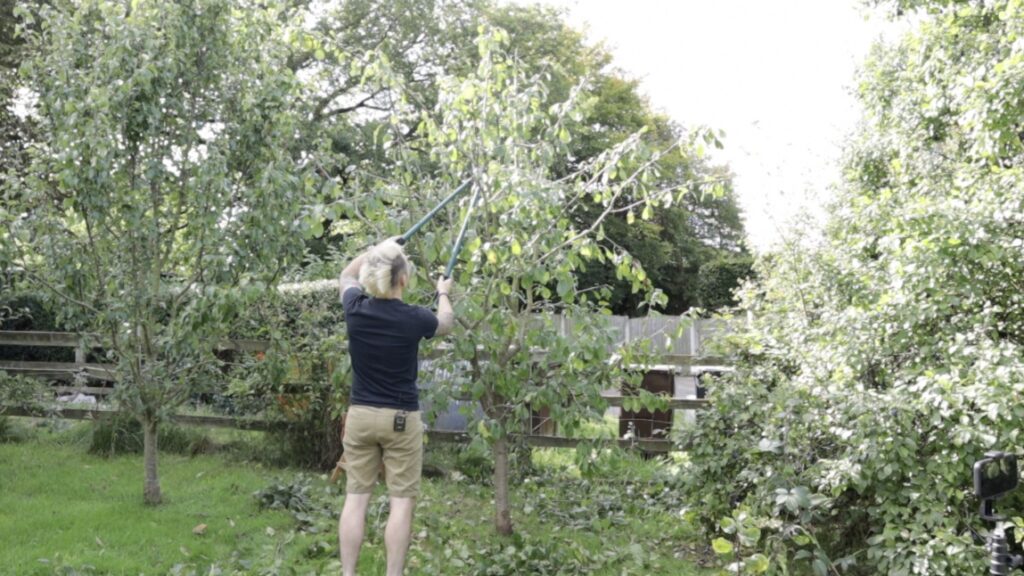
By pruning Cherry trees in late summer, you can avoid this issue and save yourself heartache!
Begin by inspecting the tree for dead, damaged, or diseased branches. These are the first to go.
Make clean cuts just outside the branch collar (the swollen area where the branch meets the trunk). Removing this wood encourages new growth and prevents diseases from spreading.
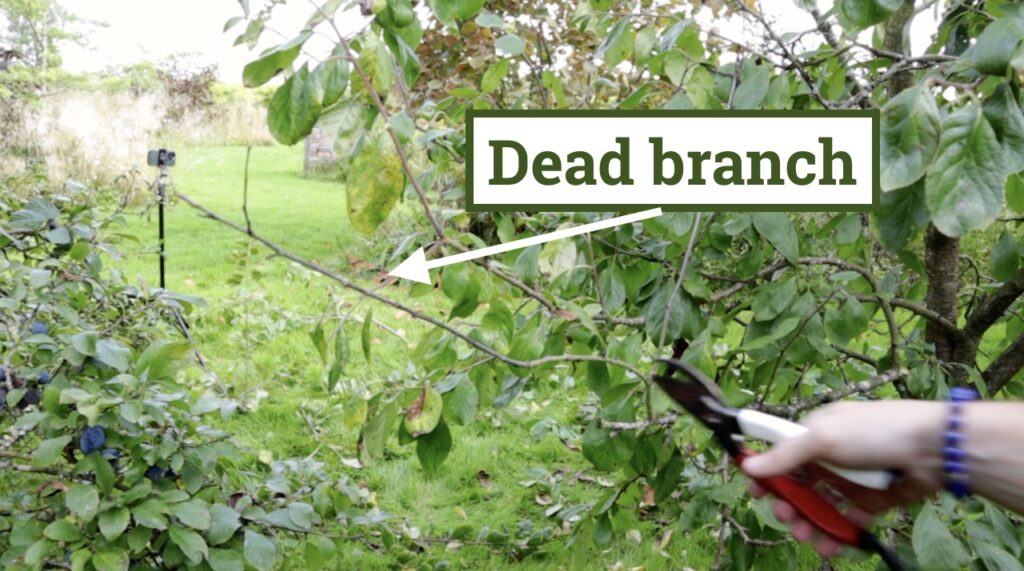
Cherry trees can become overcrowded, which reduces sunlight penetration and air circulation. Identify branches that are growing too closely together or crossing each other and cut them out. Remove any excess branches, giving priority to those that block light or rub against each other.
Remove 1/3 of this year's growth. You can identify this as it's long and bendy, often being called 'green wood' as it has not had time to lignify and turn brown and firm. You want to work around the tree and prune off 1/3 of the wood to help control the shape and structure of the tree. If left, this new long green growth can become overburdened with fruit next year and break off, damaging the tree.
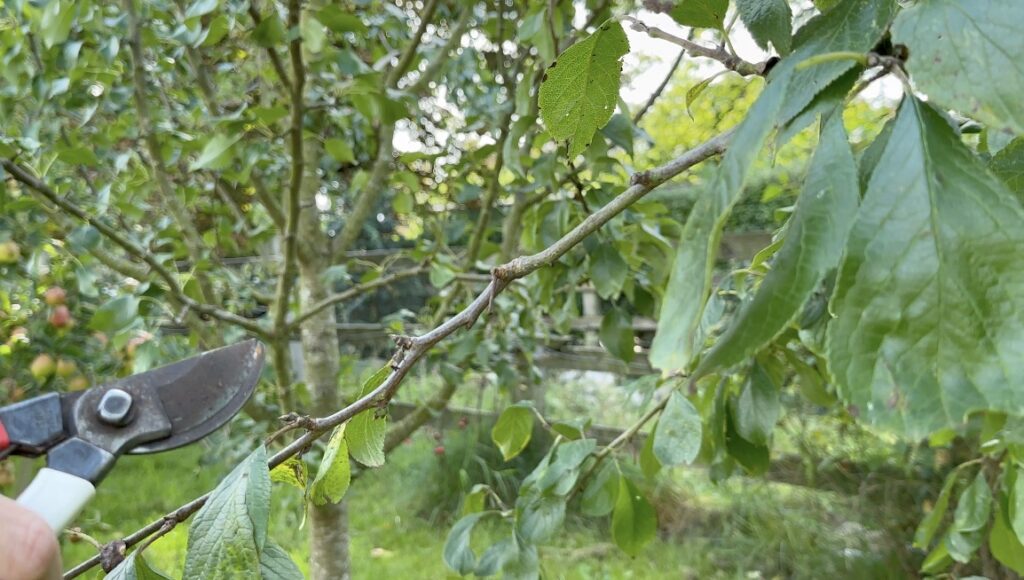
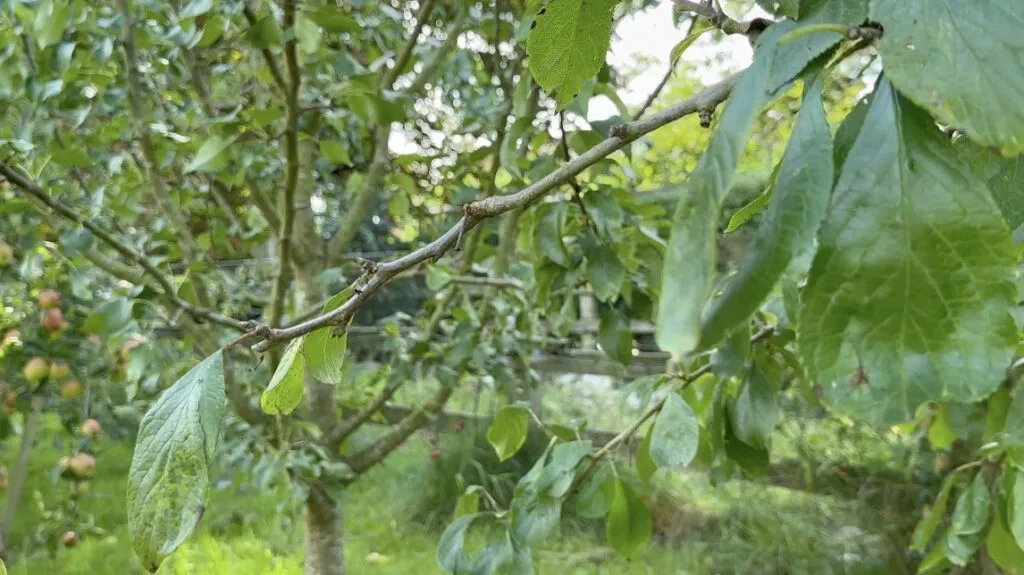
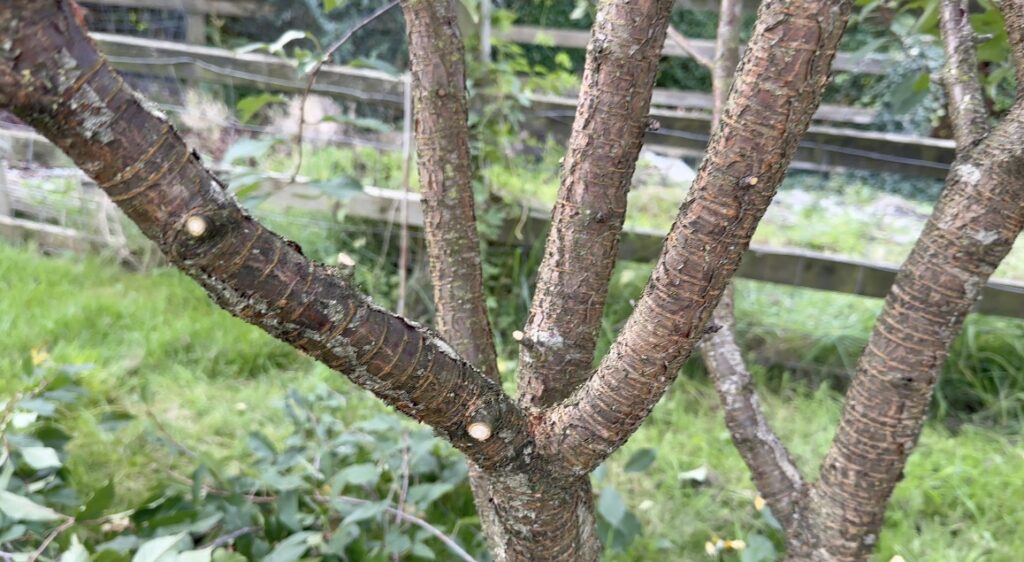
The two pictures above show a before and after of Cherry tree branch pruning.
Cherry trees should have a central leader (the main trunk) and several branches radiating outwards in the 'open goblet shape'. This is a well-rounded shape with air and space between each branch like a goblet or cup. These 'open goblet' branches form the tree's structure.
Choose 3-5 strong branches that are evenly spaced around the trunk and at different heights. Remove any competing leaders or weak branches or anything that looks like it's growing inwards and will cross other branches.
Cherry trees produce most fruit on one-year-old wood, so it's essential to encourage the growth of fruiting wood by pruning the tree into a healthy and robust shape.
To do this:
By pruning the branches back by 1/3 and ensuring a clear framework fruit wont bend or break branches and the tree overall will be more productive.
When pruning, always make clean, sharp cuts at a 45-degree angle away from the bud or leaf node below. Avoid leaving long stubs, as they can attract pests and diseases. Make cuts just above a bud or lateral branch and at a slight angle to allow water to run off.
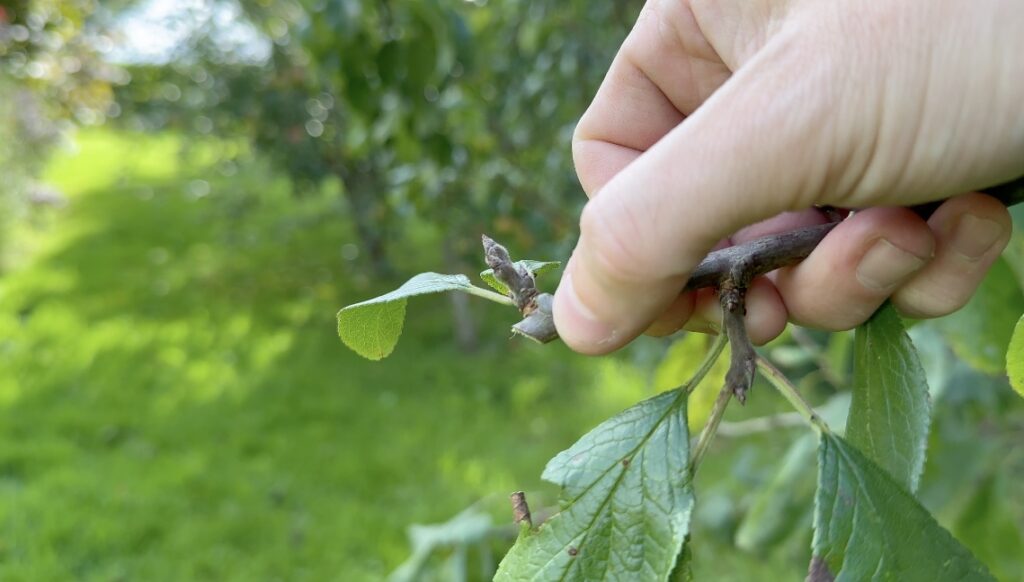
Low-hanging branches can become a real pain, both for mowing the grass around your tree or for fruit harvesting. These low-hanging branches tend to drop and have the potential to snap, tear or break off harming the tree, so they need to be cut back to the main trunk.
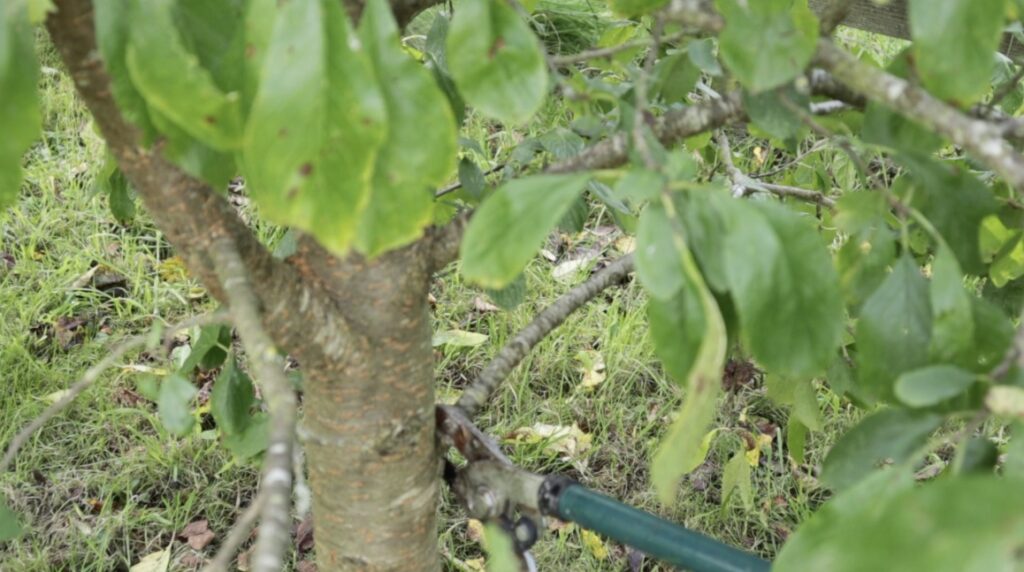
It's always best to remove these lower branches back to the main trunk of the tree. This is sometimes known as a crown lift.
After you finish pruning, clean and disinfect your tools to prevent disease transmission. Dip the blades in a solution of one part bleach to nine parts water, and then rinse and dry them thoroughly.
It's then time to sharpen your tools, ready for your next pruning session. Using a whetstone, sharpen your secateurs and loppers so they always stay razor sharp. It makes for easier pruning cuts and a better result for your fruit tree.
Finally, add a layer of mulch around the base of the tree to conserve moisture and deter weeds. Additionally, consider fertilizing your cherry tree with a balanced fertilizer in late winter or early spring to provide essential nutrients for growth and fruit production.
When it comes to pruning Cherry trees, gardeners make a number of mistakes. If you avoid the problem pruning mistakes below, you can guarantee that your Cherry tree will be healthier and more productive. Let's take a look at the top reasons why people's Cherry trees fail to fruit or look unhealthy.
Now that you know how to prune a cherry tree why not visit my other beginner fruit tree pruning guides to make sure that all of your garden trees are as healthy and productive as can be?
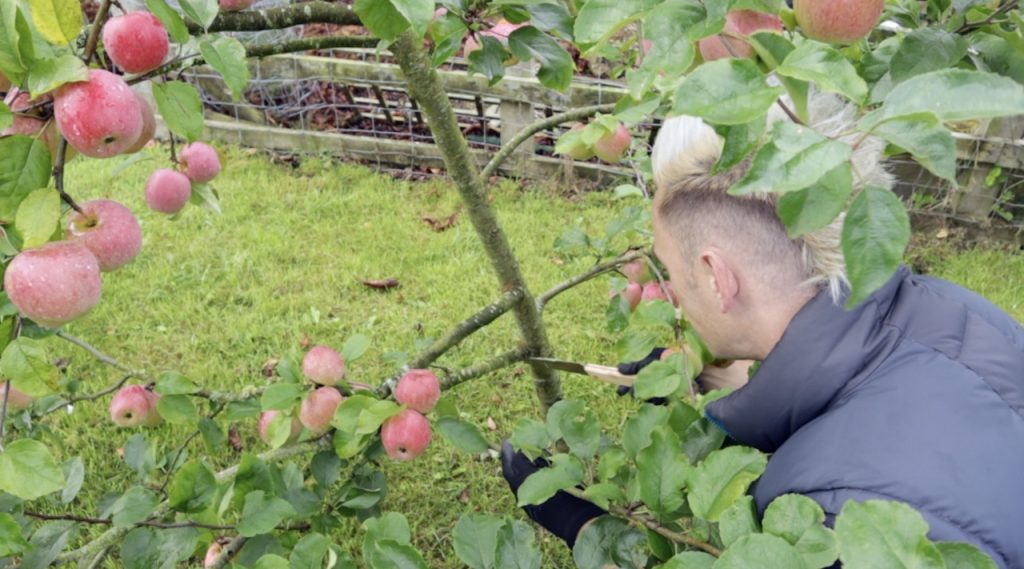
Pruning a cherry tree is an artful process that enhances the tree's health, appearance, and fruit production. By following these steps and giving your cherry tree some well-deserved attention, you'll enjoy a bountiful harvest of delicious cherries and a beautiful addition to your garden.
So, grab your pruning tools, put on your gardening gloves, and embark on a journey to unlock the beauty and bounty of your cherished cherry tree.
Make sure you visit my Youtube channel, for more gardening guides. You can also check out my Tweet, Facebook or Instagram for more garden help and tips.
Happy pruning!



JOIN THE NINJAS

Be the first in line for new Guides, Discount codes and Offers