Seed germination for beginners: how to get seeds to grow
 Lee Burkhill: Award Winning Designer & BBC 1's Garden Rescue Presenters Official Blog

Gardeners are a patient group. After sowing seeds, you need to wait and let Mother Nature take over. Constantly tapping your toes, staring longingly at those seed trays for signs of life waiting for seed germination. For some annuals, it's relatively fast, maybe a week, yet for other herbaceous beauties, they make you wait even longer, sometimes months, before throwing their seed leaves up into the air.
This guide will explain how seeds germinate and how you can ensure success when waiting for your seedlings to show their first signs of life.
Seed germination is the process by which a dormant seed, containing an embryo and stored nutrients, begins to sprout and grow into a new plant under suitable environmental conditions. It is the process where a seed starts to grow roots and shoots, allowing you to see a green shoot emerge from the compost its been sown into!
During germination, the seed absorbs water, which activates metabolic processes and enzymes dormant within the seed. These enzymes break down stored nutrients, such as starches and proteins, into simpler forms that the emerging seedling can use for growth.
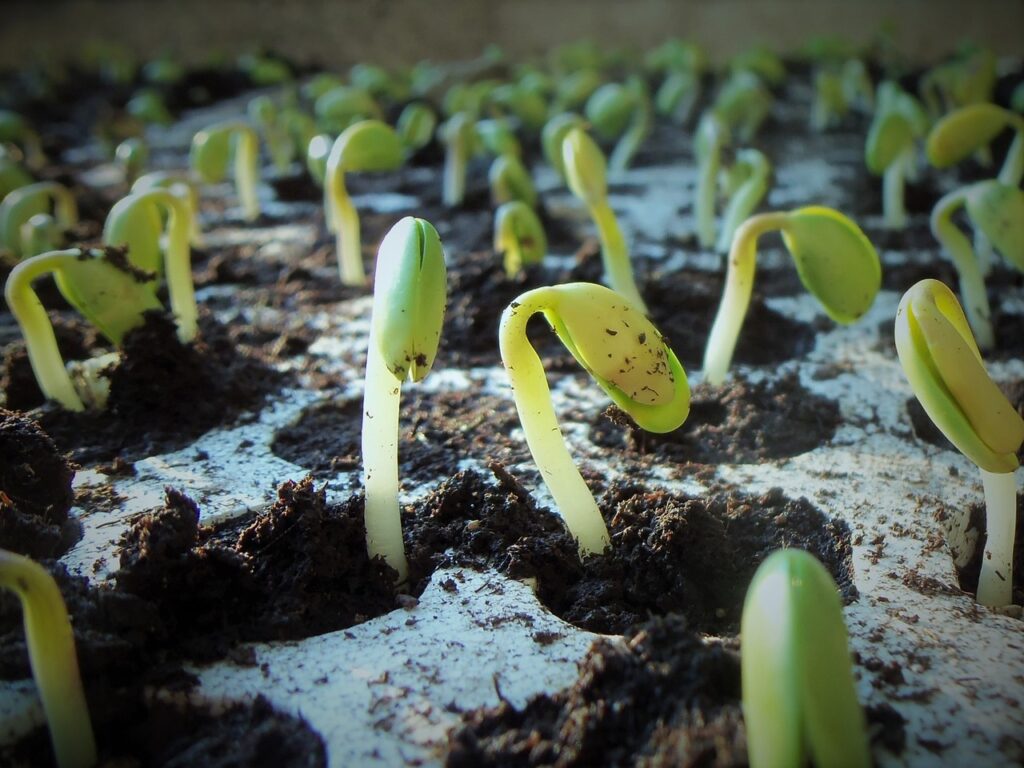
As the seedling grows, it develops roots, stems, and leaves, eventually emerging from the soil and becoming a mature plant. Germination is a critical stage in the life cycle of plants, marking the transition from a dormant seed to an actively growing seedling capable of photosynthesis and further development.
All sorts of wonderful things happen to the seed that then results in the appearance of a green shoot above the soil. Once you see these first green shoots of life, the seed has formally germinated.
Usually, seeds germinate in greenhouses, window ledges or other protected environments; the first appearance of seed leaves means that your seeds have germinated. Some seedlings are directly sown into the soil, but this is always once the chances of frost have passed.
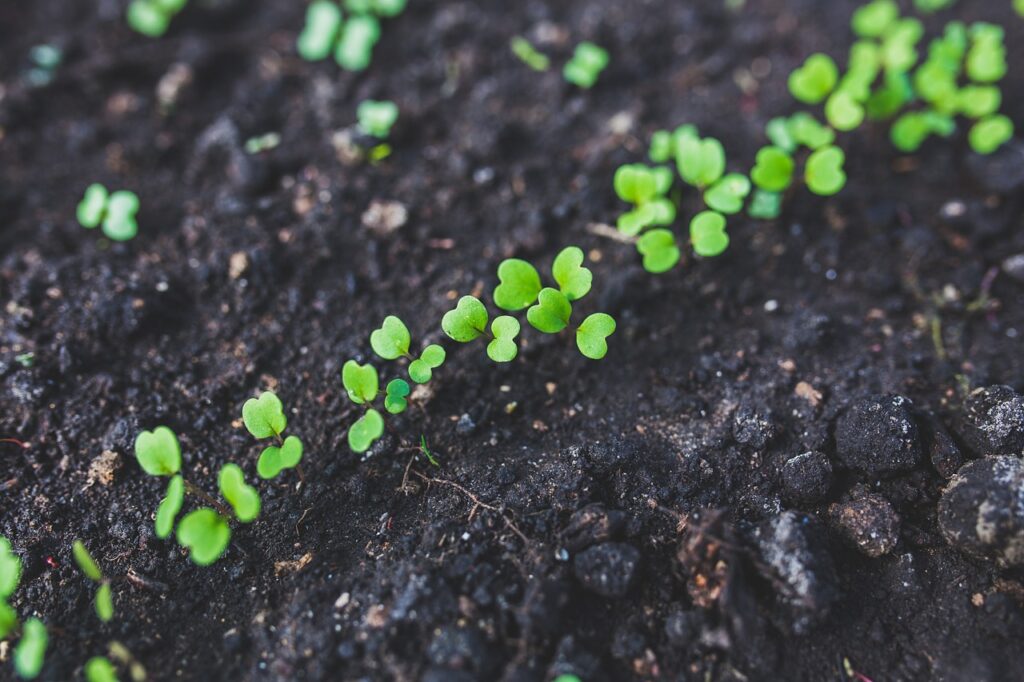
As gardeners are usually eager to start their plants early, protective environments where temperature and light levels can be controlled are usually used to grow seeds.
Seed germination is a fascinating process in which a dormant seed transforms into a seedling, ready to grow into a mature plant. This is why many gardeners consider sowing seeds a magic process, as so much happens from such a small, seemingly simple seed.
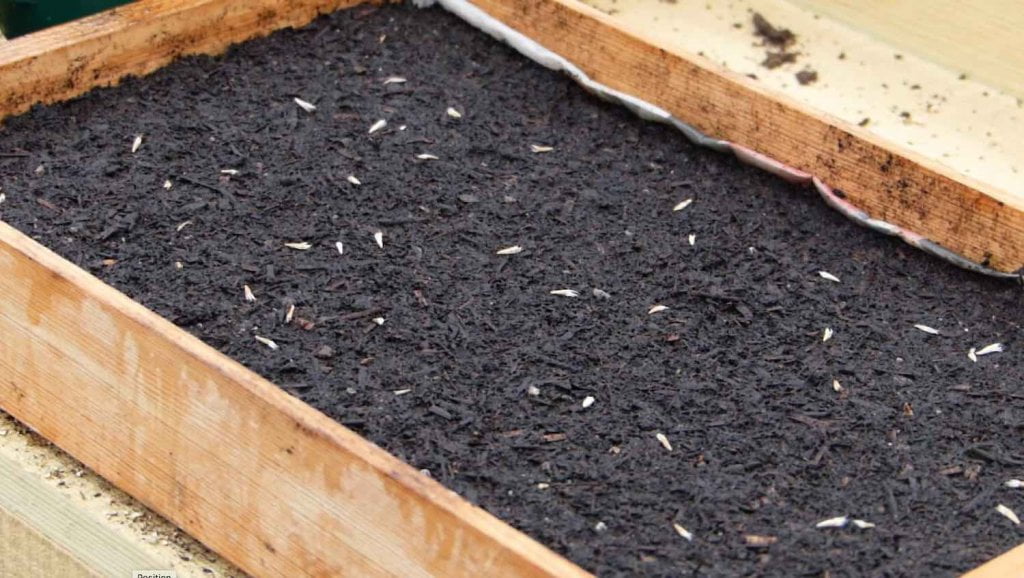
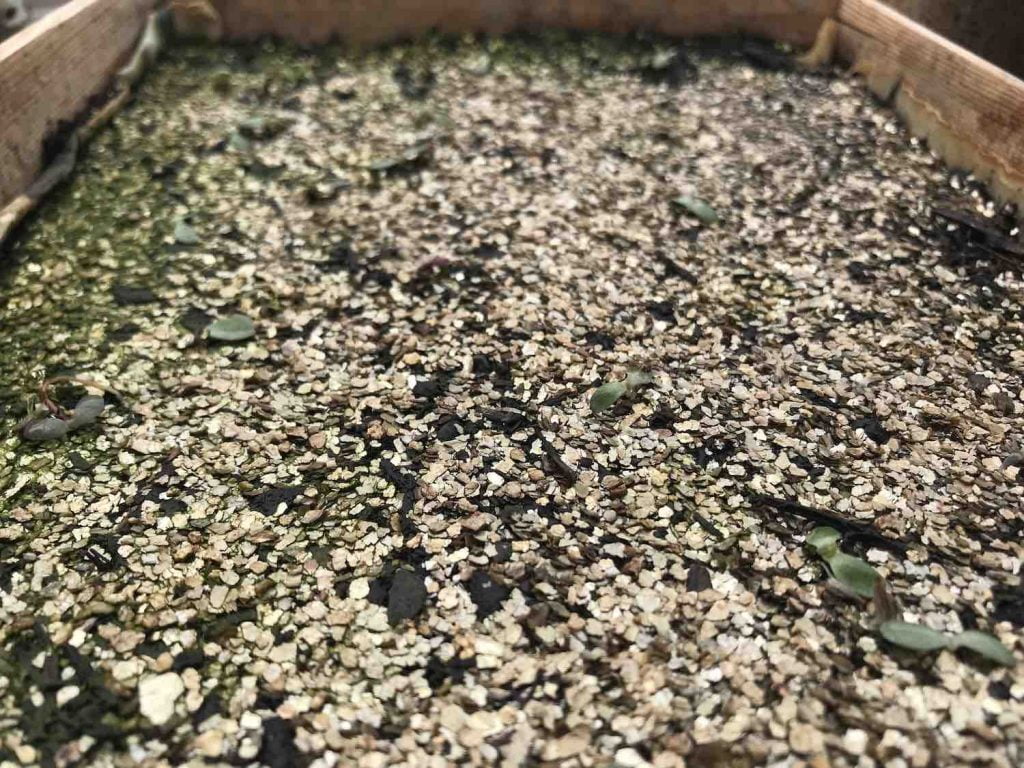
Here's a simplified explanation of the chemical processes involved in seed germination. Once the seed has been planted, covered in compost, perlite or vermiculite and then watered somewhere warm a magical chemical process begins!
Germination begins with imbibition, the absorption of water by the seed. Water penetrates the seed coat, activating enzymes and metabolic processes dormant within the seed.
As water enters the seed, it triggers the activation of enzymes that break down stored nutrients, such as starches and proteins, into simpler forms that the emerging seedling can use for growth.
The embryo inside the seed requires energy to fuel its growth. Through the process of respiration, the stored nutrients are converted into energy (in the form of adenosine triphosphate or ATP) that powers cellular processes and enables the embryo to grow and develop.
With the energy derived from respiration, the cells of the embryo begin to divide and expand, leading to the elongation of the embryonic root (radicle) and the emergence of the embryonic shoot (plumule).
As the seedling grows, it relies on the nutrients stored within the seed until it can establish itself and begin photosynthesis. The cotyledons (seed leaves) provide a temporary source of nutrients for the growing seedling until it can produce its own food through photosynthesis.
Once the radicle has elongated sufficiently, it pushes through the seed coat and into the soil, anchoring the seedling and absorbing water and nutrients. The plumule follows, emerging above the soil surface and developing into the plant's first true leaves.
Did you know that you can take my online gardening course and learn how to become a Garden Ninja yourself? Click here for details
Germination time varies widely depending on the type of seed, environmental conditions, and specific requirements of each plant species.
Annual plants and vegetable seeds usually germinate in 2-4 weeks, whereas herbaceous perennials, shrubs, and tree seeds can take 4-12 weeks to germinate.
Here's a general guide to help you understand how long seeds may take to germinate:
Different types of seeds have varying germination times. Some seeds, like lettuce and radishes, germinate relatively quickly, often within a week. Others, such as carrots and peppers, may take longer, sometimes up to two to three weeks or more.
Environmental conditions play a crucial role in seed germination. Factors such as temperature, moisture, light, and soil conditions can significantly impact germination time. Most seeds germinate best in warm temperatures, typically between 65°F to 85°F (18°C to 29°C). However, some seeds, like those of certain wildflowers or cold-season crops, may require cooler temperatures to germinate. Cold seed germination is known as 'stratification' which is used with plants like Yellow Rattle.
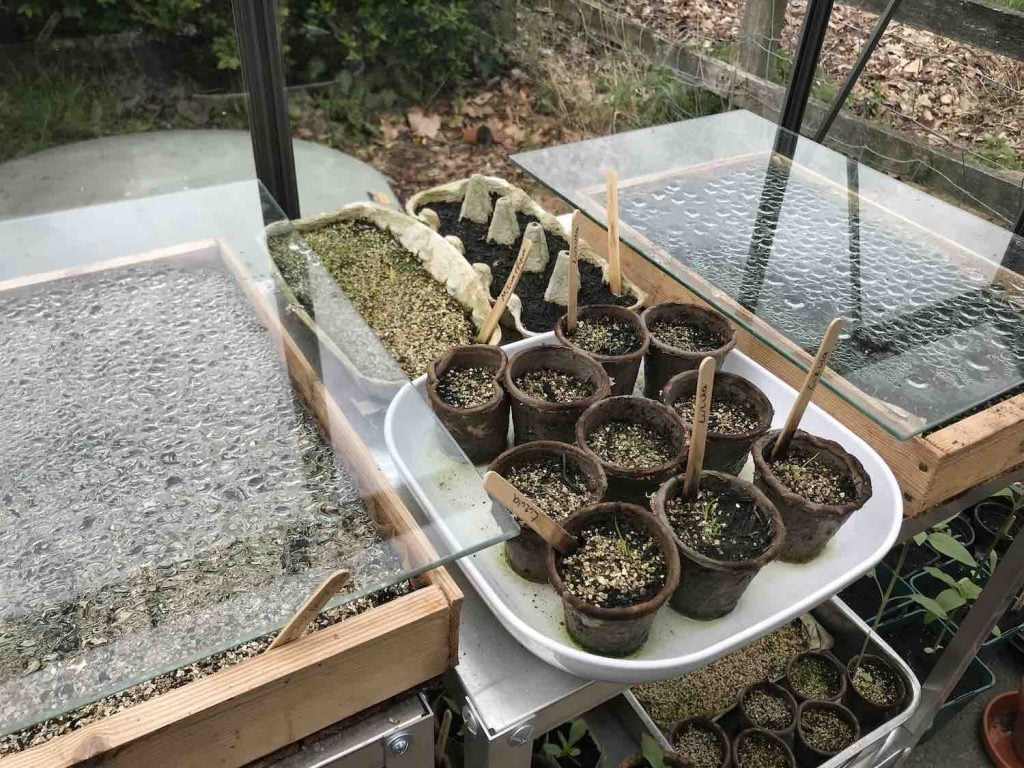
Adequate moisture is essential for germination to occur. Seeds need consistent moisture to soften the seed coat and initiate the growth of the embryo. However, excessive moisture can lead to fungal growth and rot, so it's important to maintain a balance. Use glass covers or cloches over your seed trays to help keep moisture in and humidity high.
Placing trays underneath your pots can help retain moisture. When it comes to watering seedlings, try to fill the trays with water rather than top-down watering with a can, which can disturb the seedlings or wash them around. This will aid the germination of seedlings.
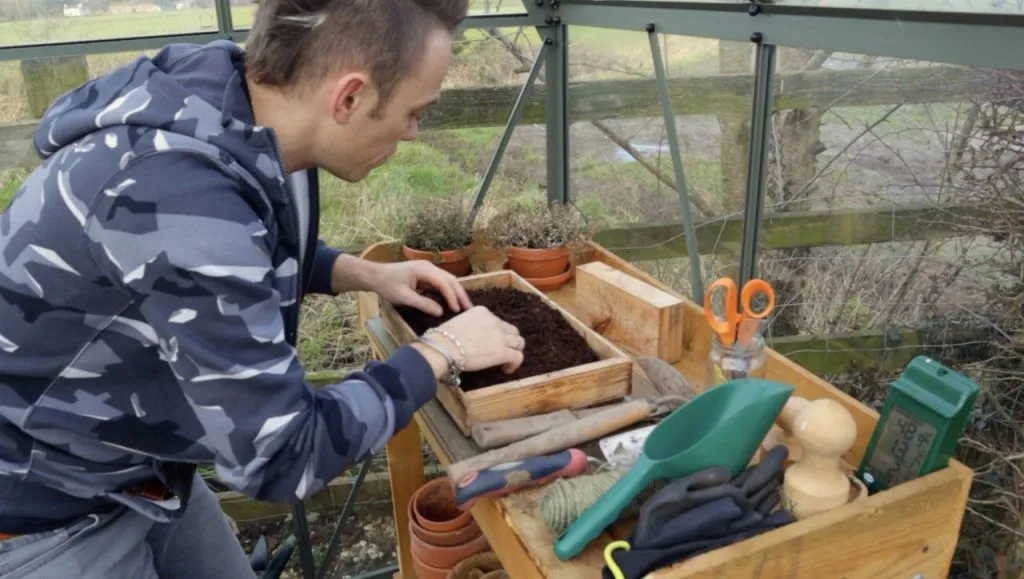
The type and depth of soil also influence germination time. Seeds planted too deeply may struggle to reach the soil surface, resulting in delayed germination or failure to germinate altogether. Additionally, seeds require well-draining soil to prevent waterlogging, which can hinder germination. Always use a seed compost to grow your seeds as garden soil can contain pathogens that kill off your seedlings.
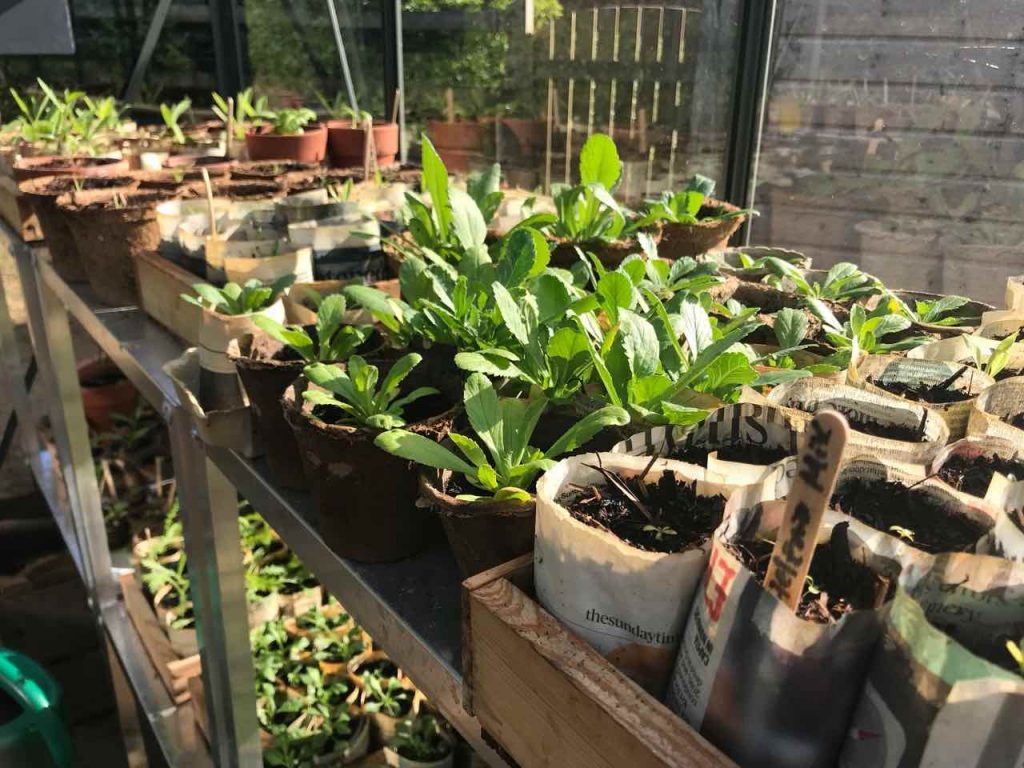
Most seedlings need very little in terms of nutrients as the seed itself contains all the food the little plant needs. Seed compost (always peat-free, please, for the reasons outlined here) is low in nutrients and ideal to start seedling off.
Some seeds have built-in dormancy mechanisms that delay germination until conditions are optimal for growth. Scarification (mechanical abrasion of the seed coat), stratification (exposure to cold temperatures), or exposure to light may be required to break seed dormancy and promote germination.
The viability of seeds, or their ability to germinate, can decline over time. Older seeds may take longer to germinate or may have reduced germination rates compared to fresh seeds. If you've had seeds in the back of the shed or cupboard for 5-plus years, the chances of them germinating reduces significantly. So always check the age of your seeds. That said, I've managed to germinate 10-year-old seeds in the past. You won't have as high a success rate!
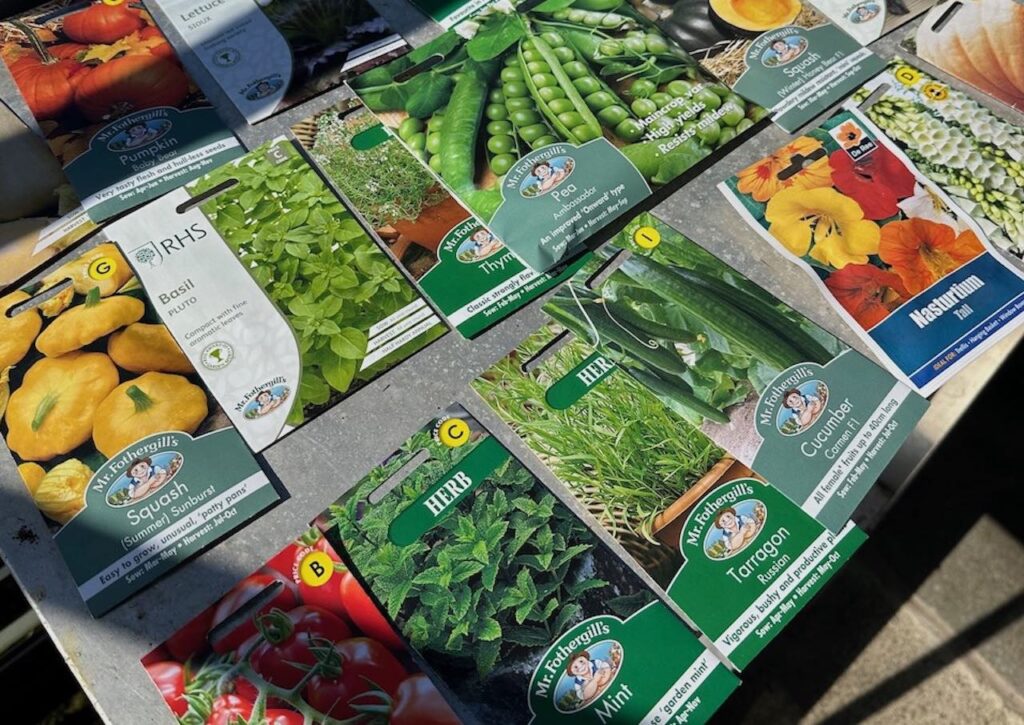
While some seeds may germinate in a matter of days under ideal conditions, others may take weeks or even months. Patience, proper environmental conditions, and attention to seed-specific requirements are key to successful germination. So please be patient, Garden Ninjas!
I recently sowed all of this year's plants entirely without plastic as part of my Gardening Without Plastic series. Gone are the plastic bag cloches, the clingfilm seed tray wraps that help keep moisture in. I went the whole hog in growing my own without any plastic. (It's harder than you think, given our reliance on the stuff).
Gardening without plastic has its own challenges in keeping the above requirements at the right levels. Humidity and moisture are the two trickiest for all seedlings to control.
We have some exciting news here at Garden Ninja HQ, as the first batches of seedlings have germinated! We have lifted off with the seedlings, which is exciting. So, if you want to know what came up first and what's been a slow burner, read on. I'll be spilling the T on the lessons learned with seed germination to give you real-life examples of the germination process above.
Out of the list of seedlings (see the seed list
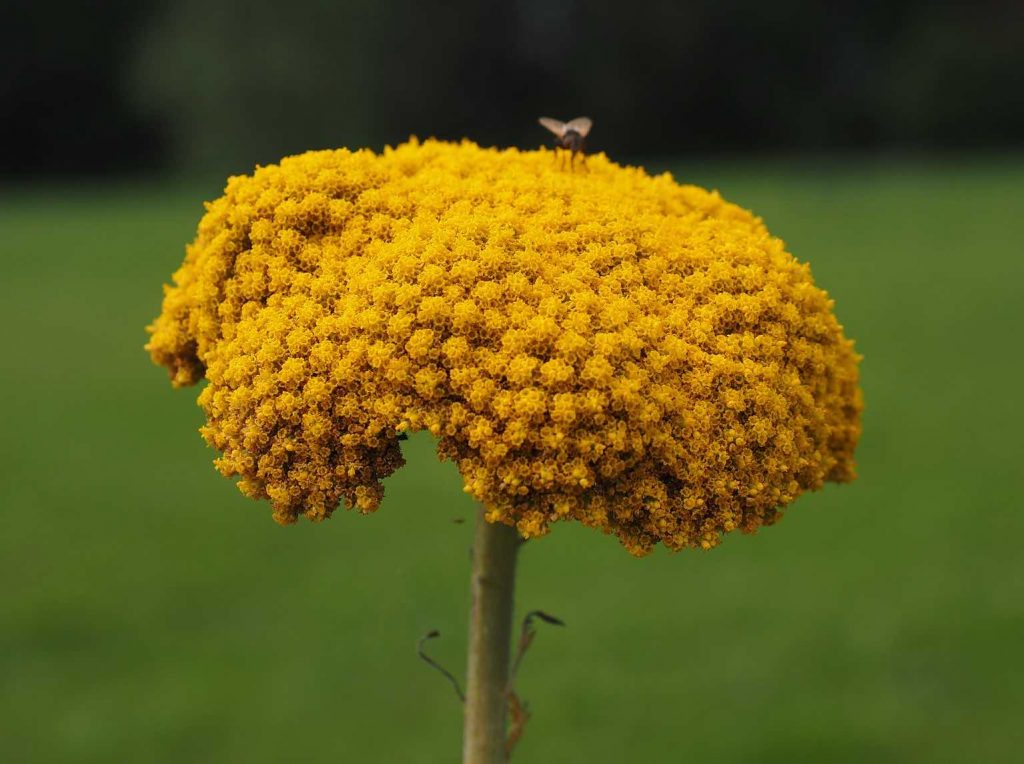
Yarrow flowers profusely and have hundreds of tiny flowers for bees and insects. What I love about Yarrow is they are so easy to grow and make great cut flowers. Once finished in the vase, leave them to try out, and their flowers hold their yellow colouration amazingly well!
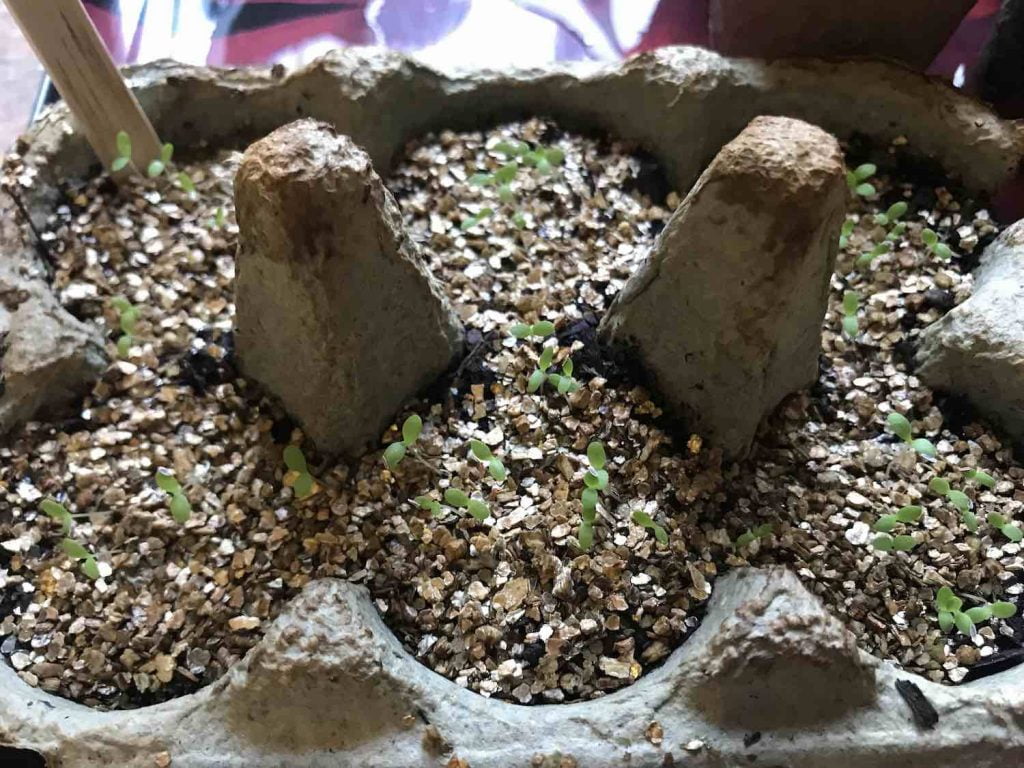
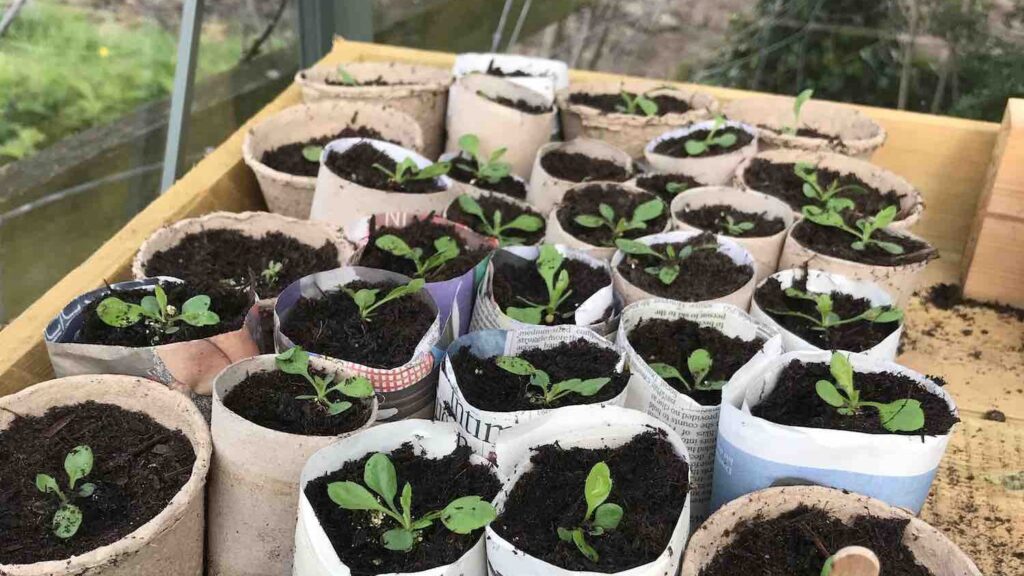
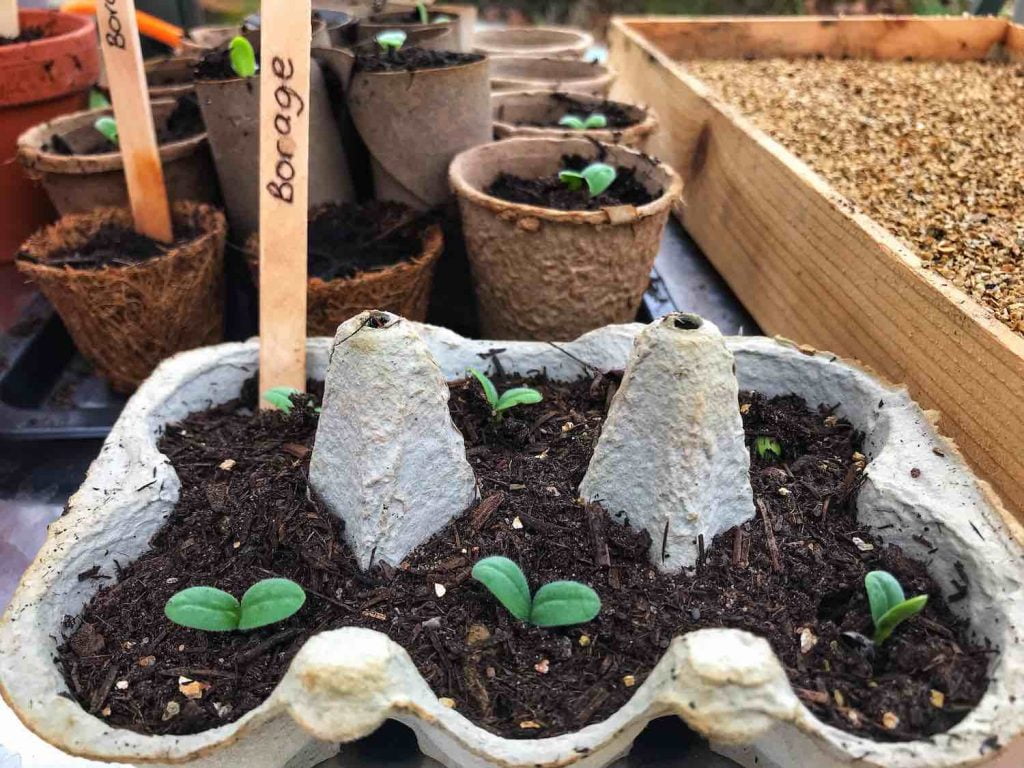
You can see the Baby Achillea (Yarrow) which have germinated in the egg boxes. This is a clear example of seed leaves and the initial 'above ground' part of seed germination.
Next up was the Penstemon and Borage on the 19th of March. The Penstemon cultivar was 'Twizzle Coral', which is an interesting and unusual orange-red blush variety. Borage is an annual, but if left, it will self-seed everywhere so I'm going to grow it this year from seed and then see how it 'self propagates' in the garden.
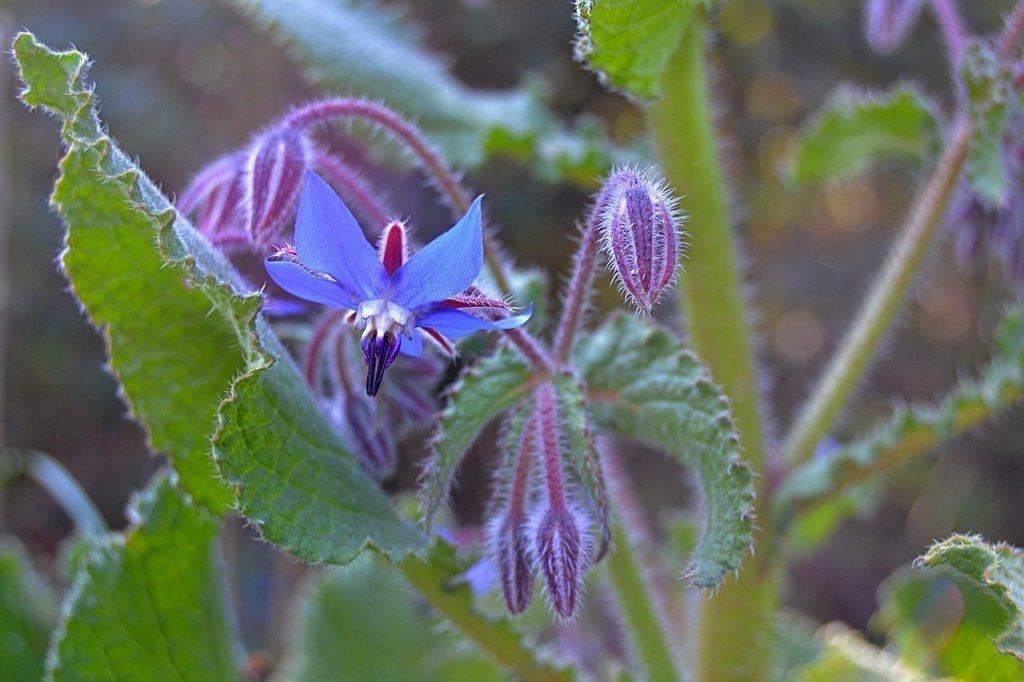
Borage is a gorgeous 'true blue' annual which also has edible flowers. The flowers of Borage taste cucumber and are wonderful in cocktails and Gin and tonics. Super easy to grow, these wonder plants happily self-seed and repeat flower each year if left to germinate in the ground.
Erigeron (also commonly known as Fleabane) was next to germinate on the 23rd of March along with the Scabious. This is sometimes a tricky seed to germinate and can take a while. However, in the wooden seed trays, it's done really well so far. It will take a while before it needs to be pricked out as they are notoriously slow, in my experience, to start to put on real growth. Once they do, however, they will go for it!
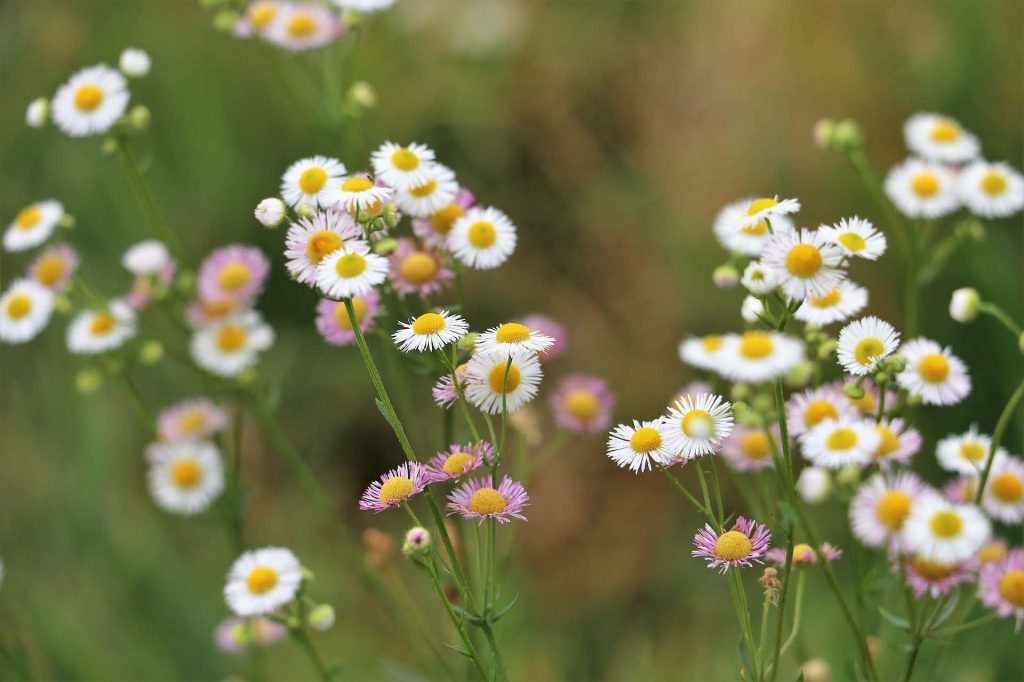
Erigeron flowers profusely throughout the summer. Fills nooks and crannies. A great filler plant for border edging. Fleabane is a staple in cottage gardens for its light, airy texture and the fact it repeats flowers throughout the summer until autumn in the garden.
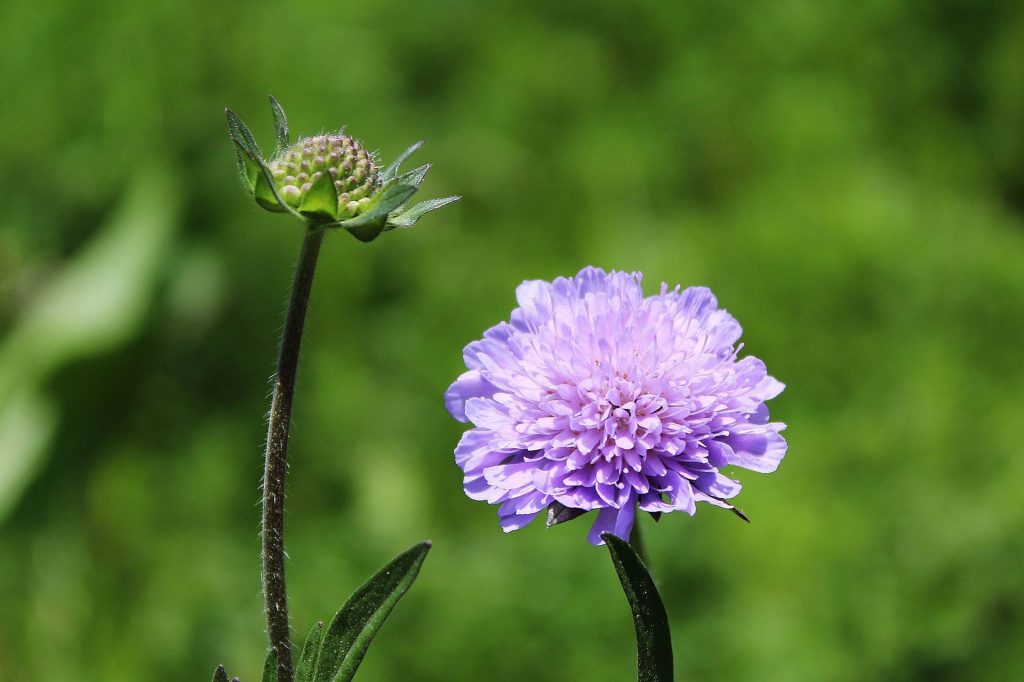
Another weird and wonderful herbaceous perennial is 'Beaujolais Bonnets', a red Scabious cultivar. Now, Scabious take around 6 weeks to germinate, so you really do have to be patient with them. Once they have germinated and been pricked out, they add a real wow of delight to any garden and, as a herbaceous perennial, come back year after year. They are a classic example of a super slow germinating plant seed.
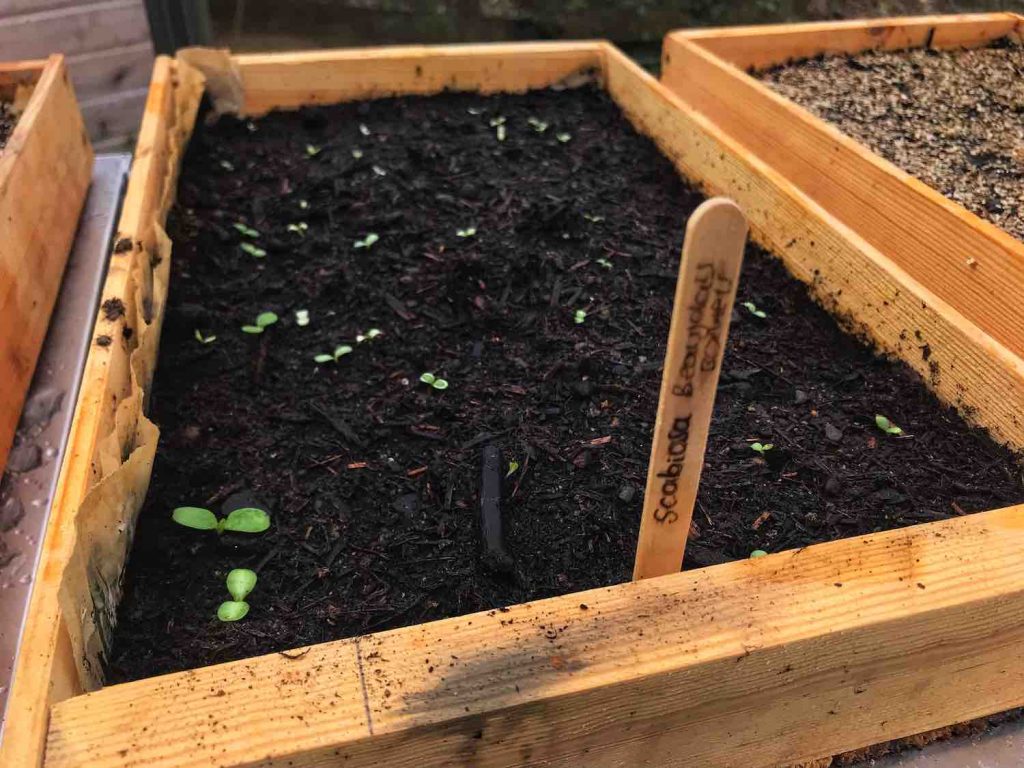
The wooden seed trays are proving a hit with the seedlings, and after 6 weeks, the Scabious emerges tentatively from the seed compost.
The Heleniums, which are some of the trickiest plants to grow from seed, started to germinate on the 28th of March. They usually require stratification. I placed my sown seeds outside in a cold frame for a couple of weeks, which has done the trick.
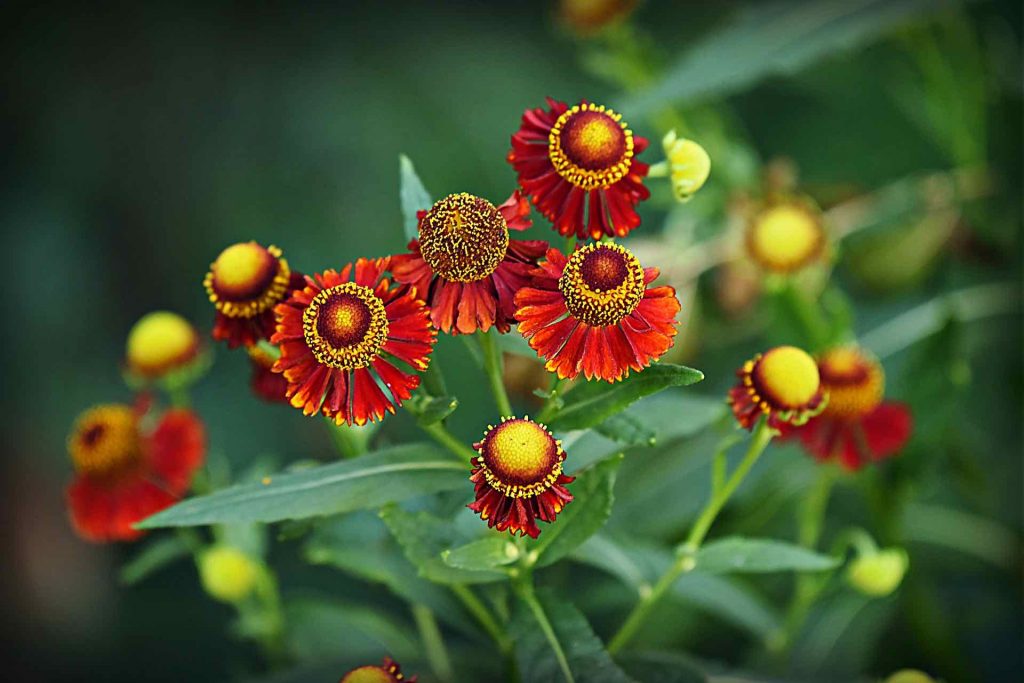
Heleniums or Sneezeweed can be tricky to germinate as they need a cold snap known as stratification to let the seed know it's time to get ready for germination. If you sow Heleniums in May when it's warm without refrigerating the seeds for a few weeks, the chances are they will never germinate. This is why it is key to always read the seed packet instructions to know how and when to sow your seeds.
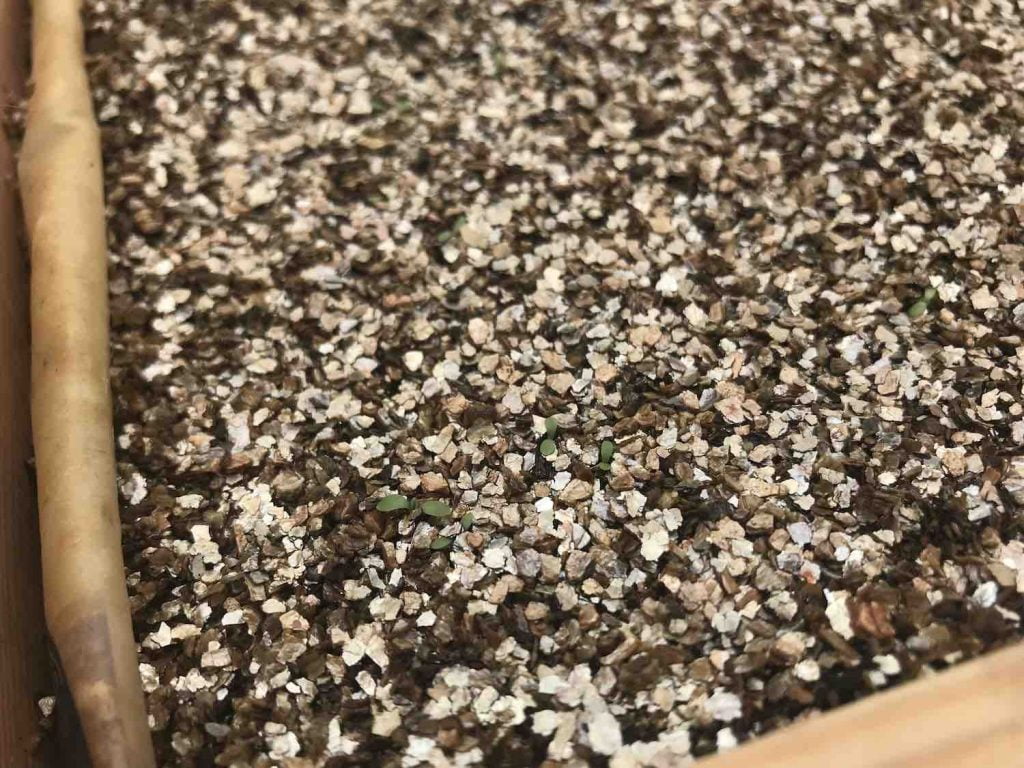
If you squint, you will see the tricky Heleniums! You go, girls! It is super slow to emerge and grow but is a fabulous late summer plant for any type of hot border or wildlife garden.
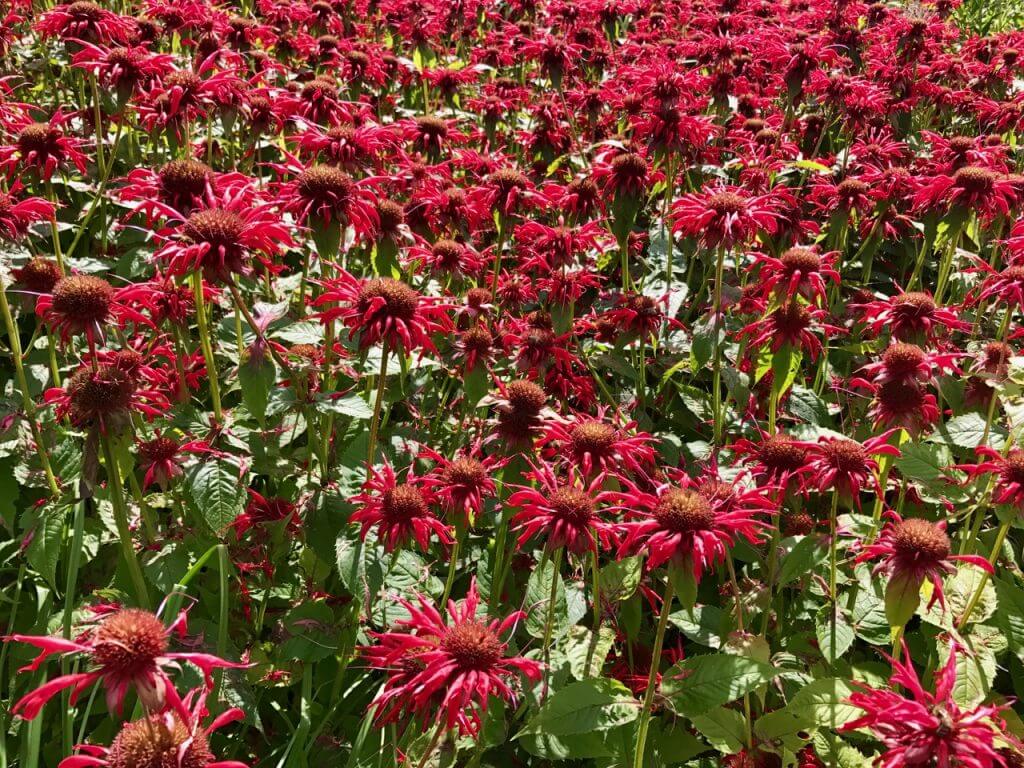
Closely after the Heleniums, one of my all-time favourite flowers germinated, The Monarda or Bee Balm. These wonderfully quirky red flowers smell of Earl Grey tea. I can't wait to have these red beauties lighting up the Exploding Atom Garden! The smell of Earl Grey tea from these Bee Balms will be intoxicating for wildlife and visitors alike!
The thing to remember with Monarda is mildew from water stress; they nearly always get this white powdery substance on them; it doesn't kill them, but it can look unsightly.
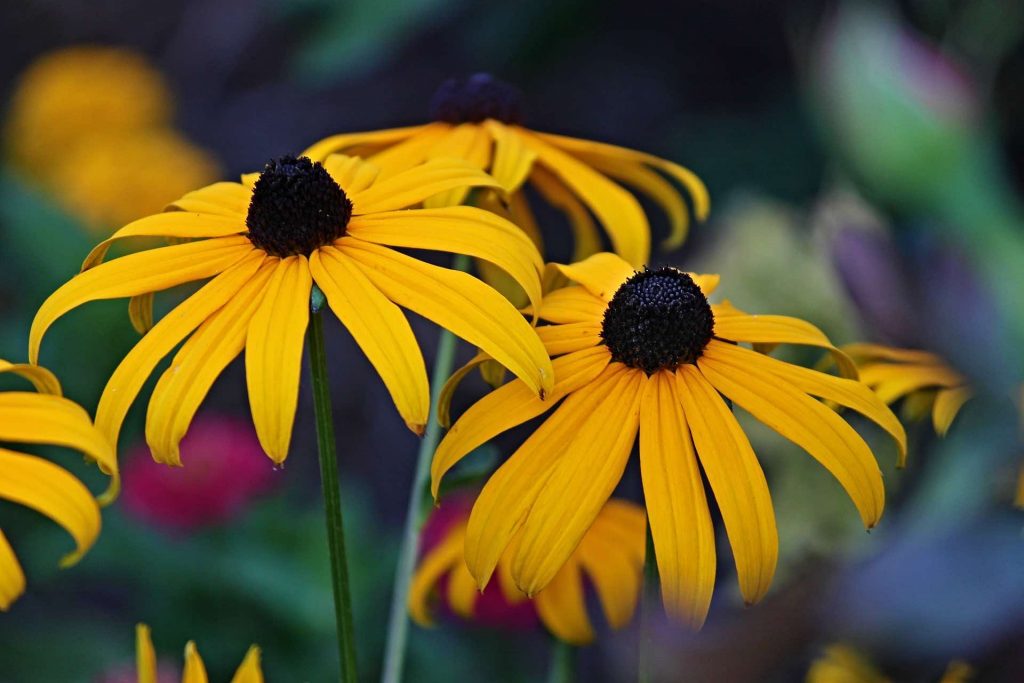
Well, the Rudbeckia is proving troublesome, which may be down to the issue of humidity. As I'm not covering anything with plastic wrap, it's hard to keep the moisture and humidity levels high. The same with the Silene
They won't rot if they are kept just damp. If you imagine the conditions they would survive outside, then you'll recognise just how tough even the seeds are! The Rudbeckia are still a no-show germination-wise for now, and that's about 2 months in!
Learning how to germinate seedings is a key garden skill. Whilst most of it is left to Mother Nature, we can help provide the conditions that all seeds need to germinate and then thrive as mature plants.
With my Gardening without Plastic journey, the main challenge to germination is maintaining moisture and humidity. Keeping things damp and the temperature consistent without plastic wrap is a real challenge. I may need to consider finding some sheets of glass to use over the seed trays next year to help the seedlings.
The next Blog/Vlog will show the pricking out of the seedlings. This happens once the true leaves have developed and the seedlings are big enough to 'tuff it on their own' in individual pots and containers. I'll be showing some of the other #plasticfree containers that I'll be trialling in this next phase.
Why not check out the other guides and vlogs on my Youtube channel? You can also check out my Tweet, Facebook or Instagram for more garden guides and tips. I'd love to hear your own experiences of seed sowing and gardening without plastic of the types of herbaceous plants you've grown from seed, so why not get in touch?


JOIN THE NINJAS
Be the first in line for new Guides, Discount codes and Offers